Stampin’ Up Brusho Birthday Blooms


Birthday Blooms Stamp Set


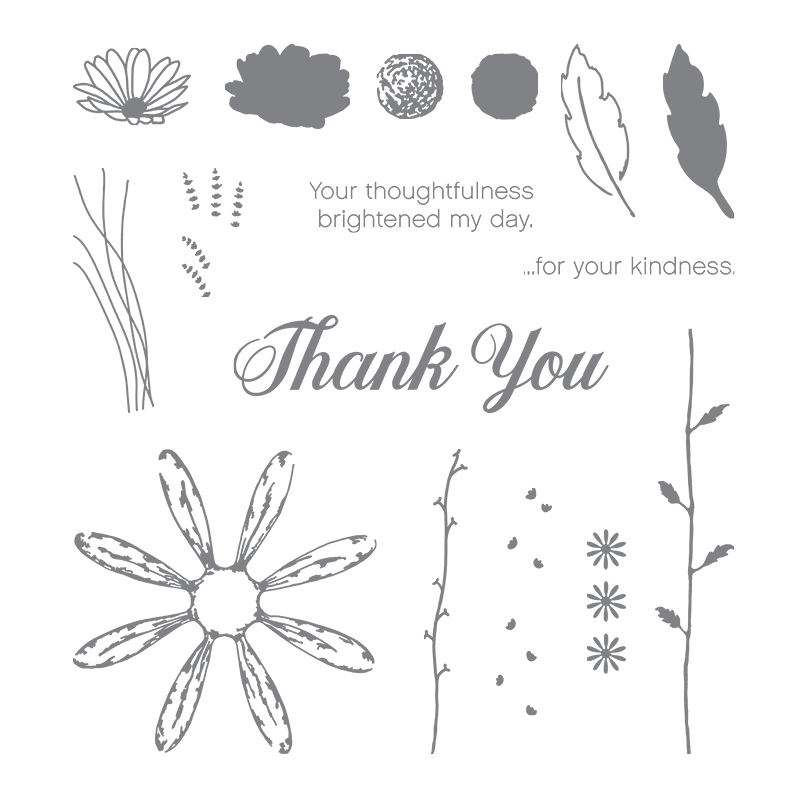
 Flower Shop Stamp Set


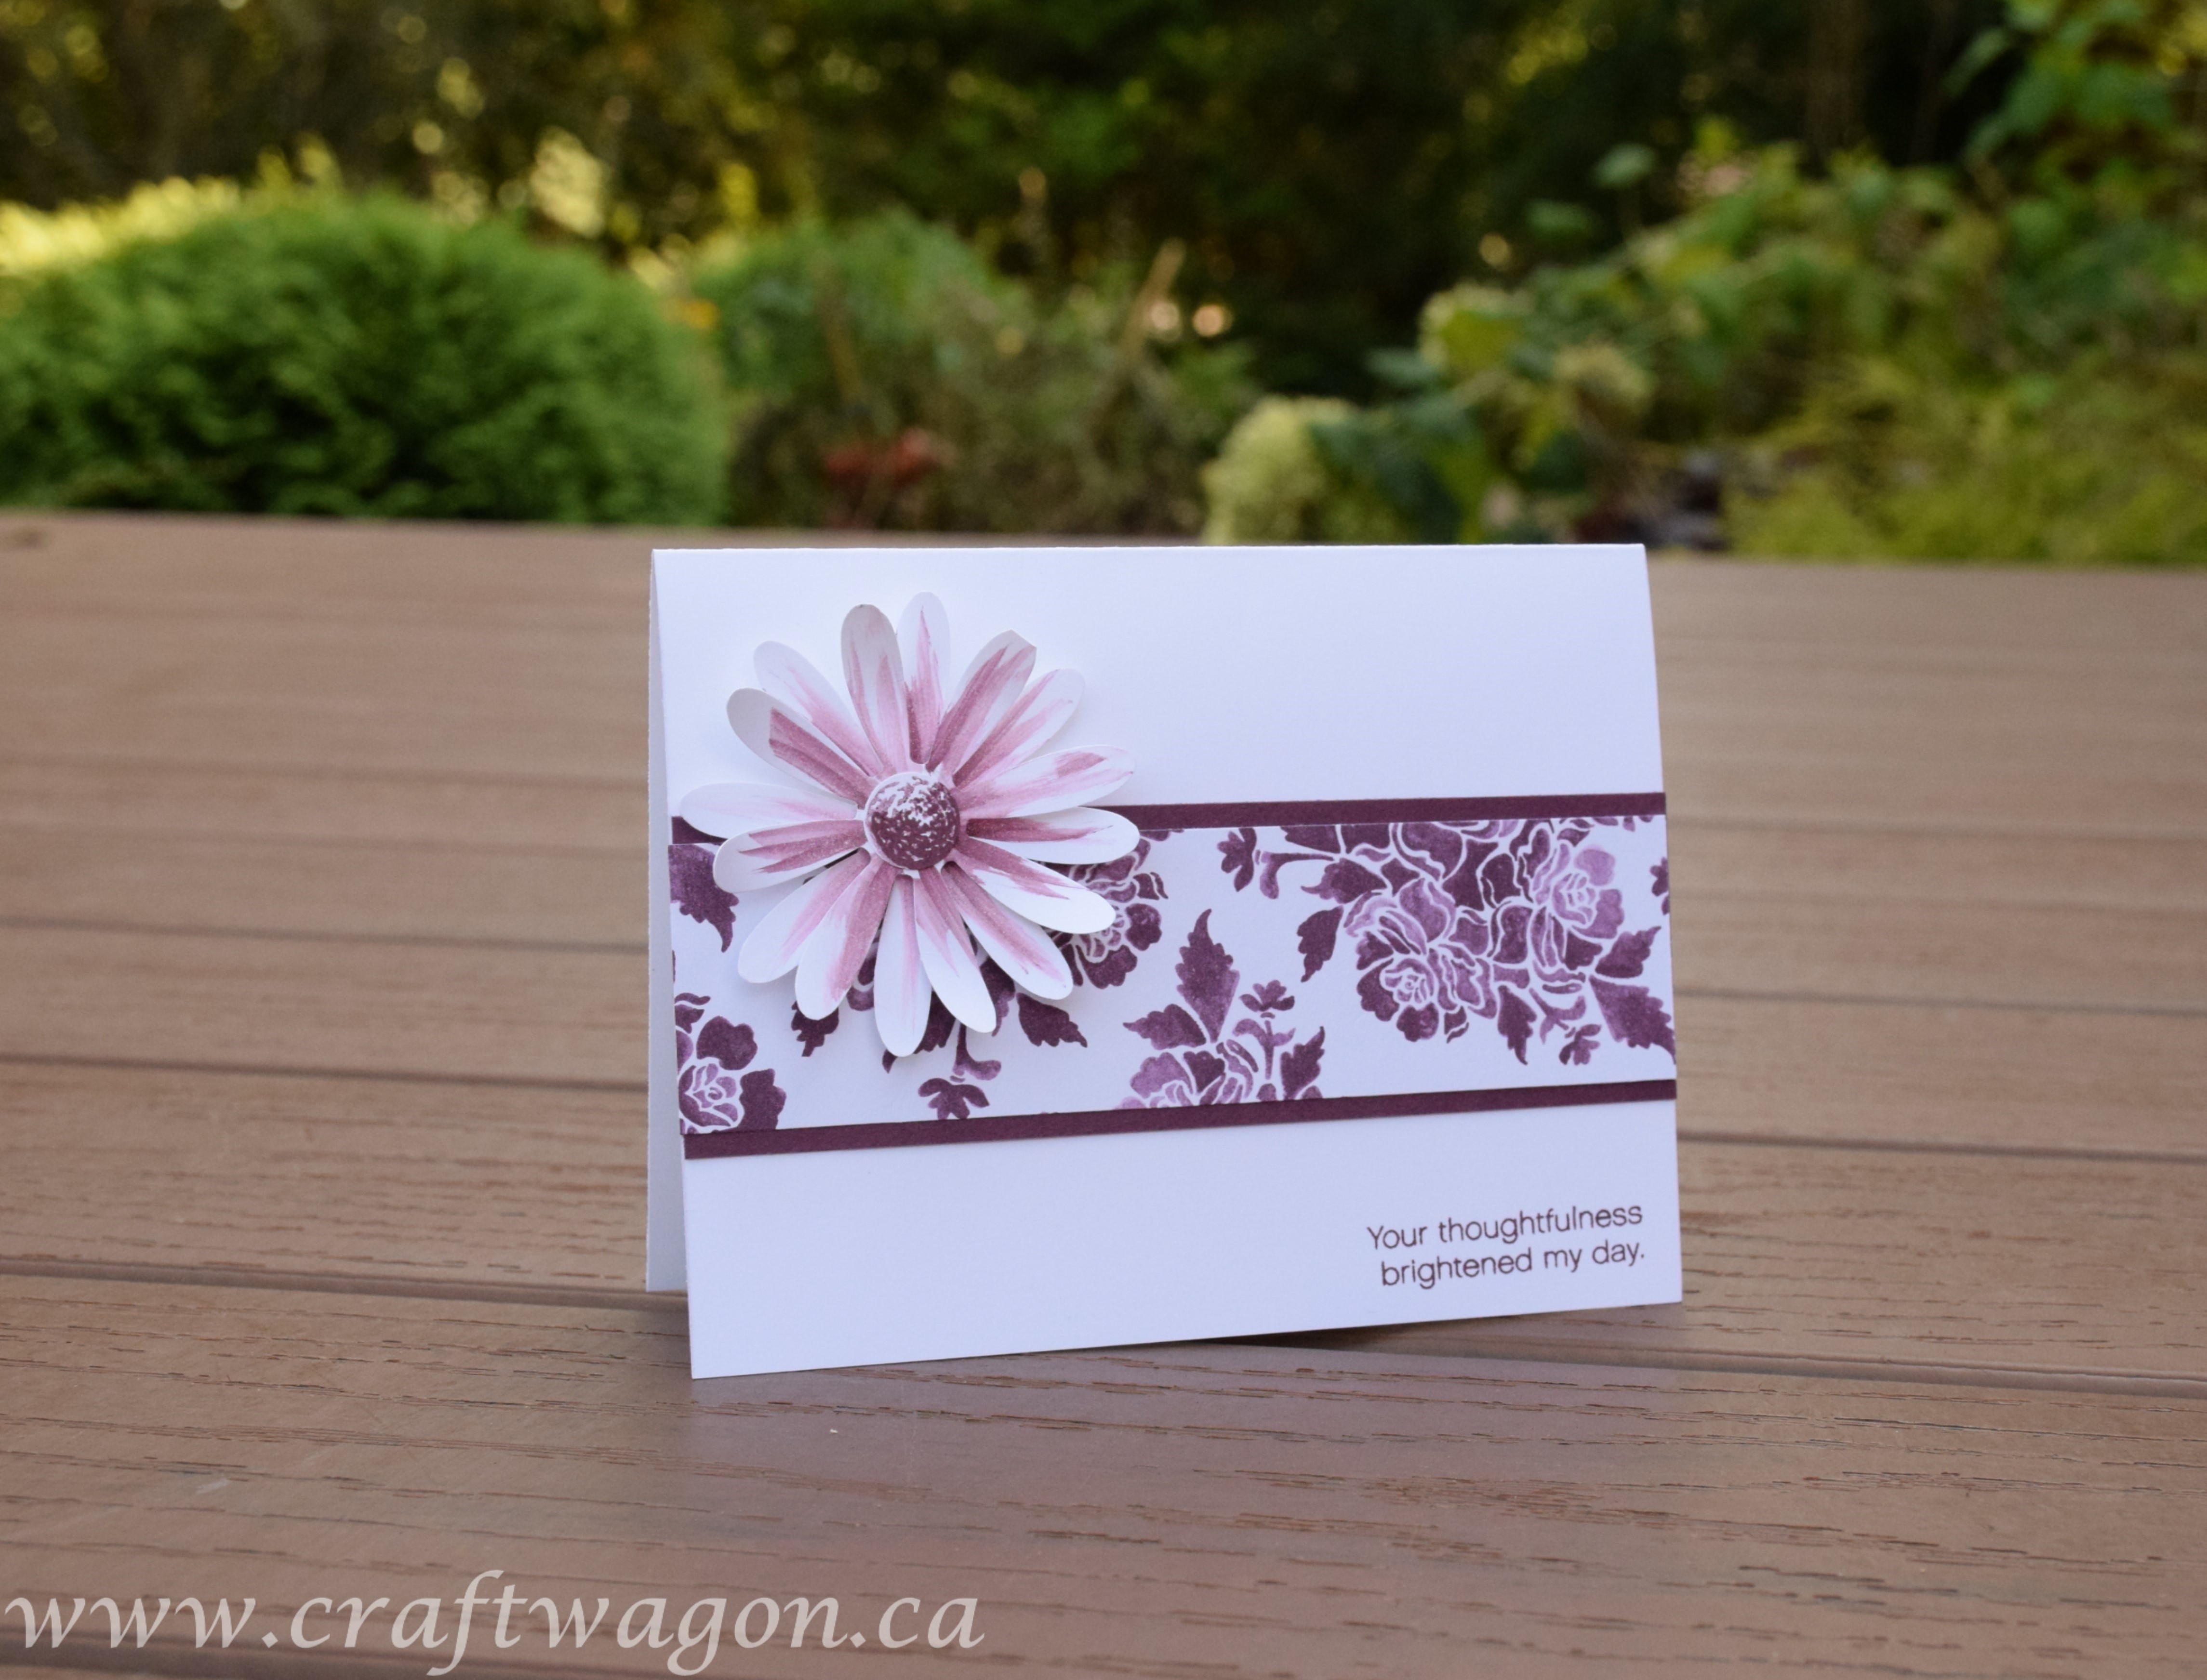
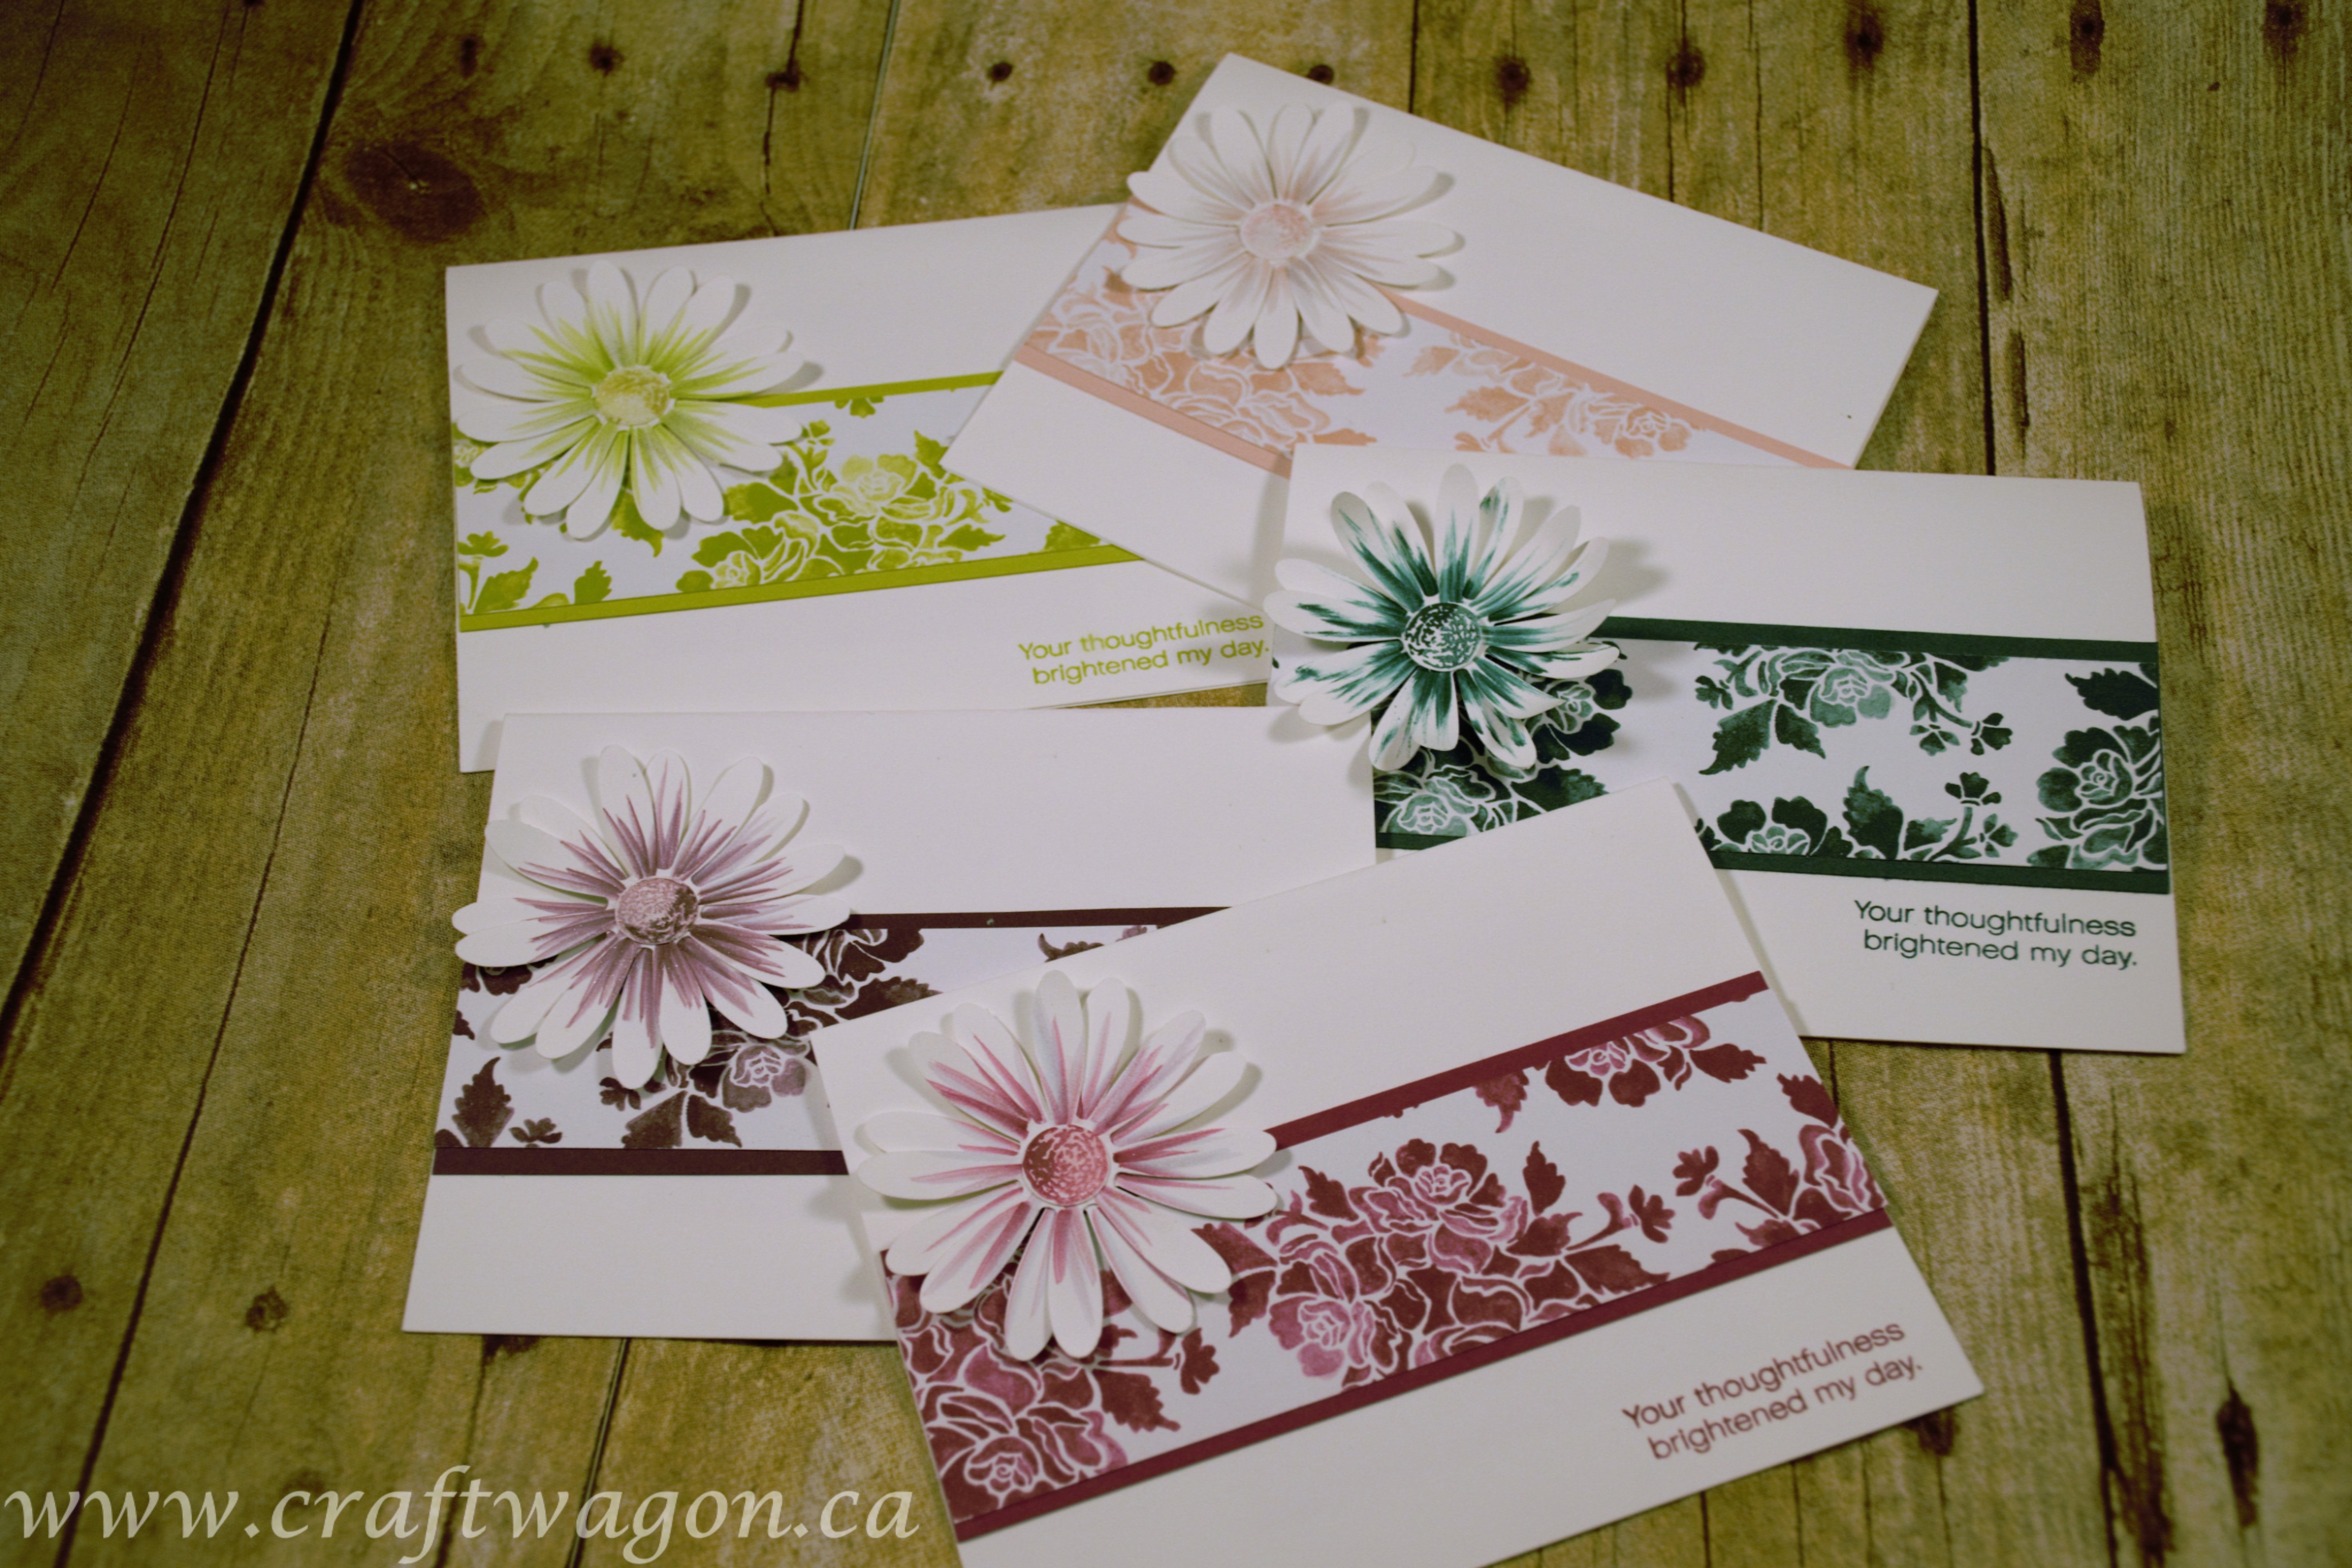
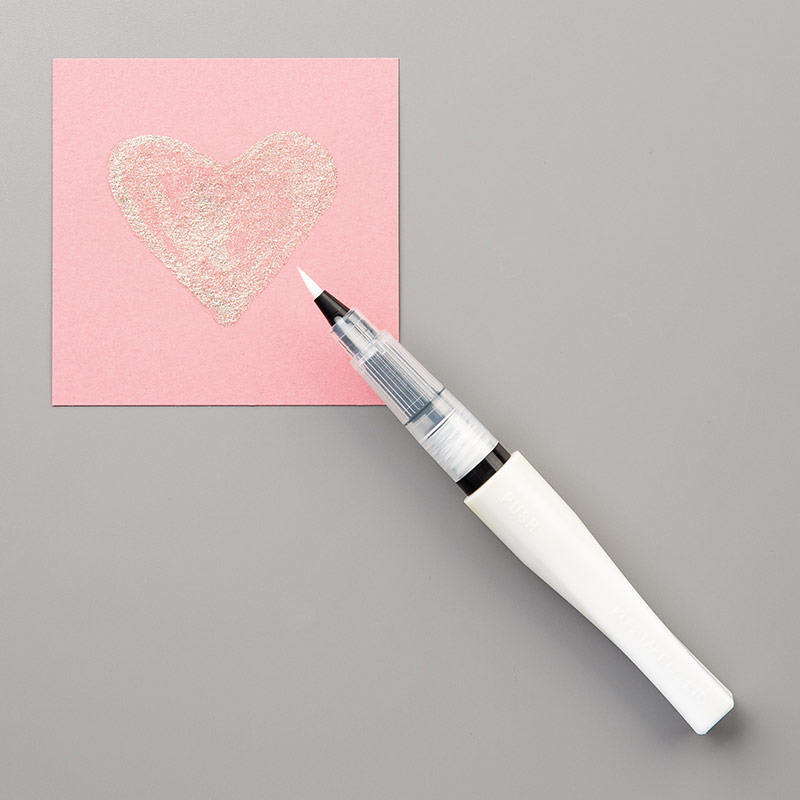
Back again, with another beautiful Brusho background. I created this card, first using the easy brusho technique. Once it was dry I added the versamark and embossing powder. The greeting pairs nicely with the classic label punch and the white perfect accents give it a nice finish. I was inspired to create two cards from this design by changing up the flower. I love how the gamboge is softened when the yellow is added, it pairs well with the Peekaboo Peach cardstock.

To get the supplies for this card, click on the links below:

Supplies:

Birthday Blossoms stamp set #139471  OR Flower Shop stamp set #130939

Happy Birthday Gorgeous stamp set #143662

Petal Pair TIEF #14565

Brusho Crystal Colours #144101

Basic Black Archival Ink #140931

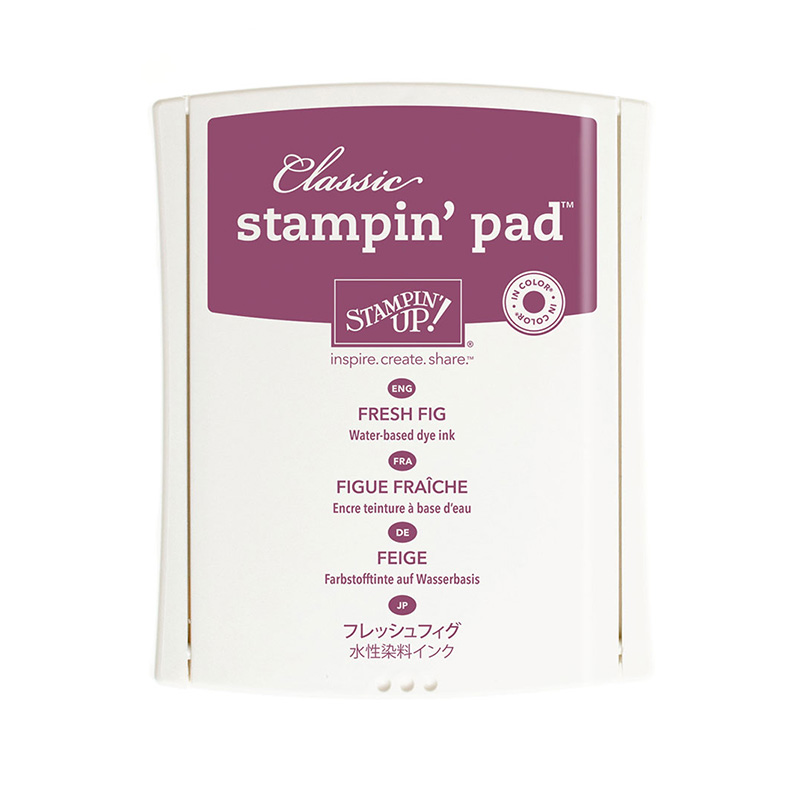
Peekaboo Peach Classic Stampin’ Pad #141398

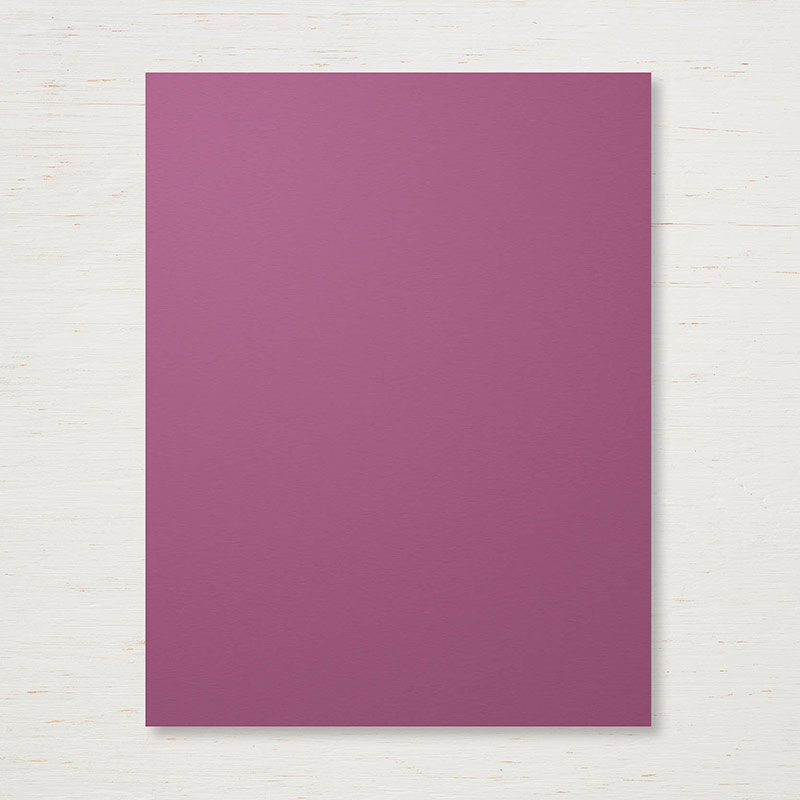
Peekaboo Peach cardstock #141417

Daffodil Delight cardstock #119683

Watercolor Paper #122959

scrap of whisper white and basic black for greeting

White Perfect Accents #138416

Measurements:

Peekaboo Peach cut: 5-1/2″ x 8-1/2″

Daffodil Delight cut: 3″x 4|”

Watercolour paper cut: 2-3/4″ x 3-3/4″

Here’s how to create this card:

Thanks so much for stopping by, be sure to sign up for my newsletter to keep in touch and get free card ideas delivered to your inbox.

Creatively Yours,

Roxane

Stampin’ Up! Brusho Butterfly

Create stunning backgrounds for your greeting cards in just a few minutes using Brusho Crystal Colours .

When I initially started using this product, there were quite a lot of oopsies! But, as I have played around with it and learned to be patient and WAIT! ( not my strong suit!). I have found that the result are stunning. I am adding in new techniques and will post new videos as I am on this journey. My latest experiment is adding salt. Today’s card features this technique. Scroll to the bottom for the how to video, Enjoy!

To get the supplies for this card, click on the links below:

Supplies:

Watercolor Wings stamp set #139424

Butterflies Thinlits #137360

Brusho Crystal Colours #144101

Whisper White cardstock #100730

Sweet Sugarplum cardstock #141418

Watercolour paper #122959

Basic Black cardstock #121045

Pear Pizzazz cardstock#131201

Everyday Label Punch #144668

Silver 1/8″ ribbon #132137

Dapper Denim Classic Stampin’ pad #141394

Measurements:

Whisper White Cardstock: 4-1/4″ x 11″ and a piece of scrap for greeting
Sweet Sugarplum cardstock : 4″ x 5-1/4″
Watercolour paper: 3-3/4″ x 5″
Pear Pizzazz : scrap for greeting mat
Basic Black cardstock: scrap 3-1/2″ square to cut out butterfly

Let’s put this card together, check out this video:


Try out this technique and be sure to leave a comment and let me know how it went!

Creatively Yours,

Roxane


Day 2- Stampin’ Up! Brusho Crystal Colours and Salt Technique

Well here we are watching paint dry…lol
Day 2 of the salt technique, now that the paint and salt are dry, we are ready to remove the salt and create some amazing cards.
I feel that the background technique that I am sharing, speaks volumes in terms of your card, so I kept the inking simple. One image, a greeting and a bit of bling! Enjoy the video and be sure to comment below about what colour combination you have used or are thinking of trying for your salty background.


To create this stunning card, you will need the following supplies:

Your amazing salted Brusho Background, trimmed to  3/3-4″ x 5″

Basic Black cardstock #121045, cut at 3-7/8″ x 5-1/8″

Whisper white cardstock #100730 cut at 4-1/4″ x 11″, scrap 1/2″ x 3″

Metallic Enamel Shapes #141678 

1/2″ Finely Woven Ribbon- Tranquil Tide #144136, approx 6″

Sheltering Tree Stamp set:#137163

In case you missed part 1 of the video, hop on over to this blog post:

Stampin’ Up! Brusho Salt Technique


Stampin’Up! Brusho Salt Technique

Check out this video,to see how to create a new and fun background using Brusho Crystal Colours and salt!

Yep, regular, ol’ table salt!


Interested in trying out this technique? Here is the product list:

Brusho Crystal Colours #144101

Watercolor paper #122959

Stampin’ Spritzers #126185

Aquapainters #103954

Cut your paper 1″ larger, both sides, than you would like the finished size to be, this way, there is room for trimming.

Mister

masking tape,  plastic board

Mount the watercolor paper to your board. Watch the video and follow along:)

In part 2 of the technique, I will show you how to  take the salt off, and create a beautiful card!

Stampin Up Brusho Dragonfly Dreams

Well here I am on Monday, attemping to record a video for my weekly post and what happens? It takes me the entire day to get it all together. Wow! I think to myself, do I really want to post this? Then I realize, that I am not the only one who is playing with this new product and not yielding the “As Seen On TV” results I was hoping for.

So here is a video on the card that made the directors cut! Enjoy!

Please leave a comment and share your successes and challenges with this new product.

If you would like to create this card at home, please go to my online shop and order the supplies .

Dragonfly Dreams 

Stamps:
Dragonfly Dreams (P) 142924

Ink:
Versamark Pad 102283
Brusho Crystal Colour 144101 (Brilliant Red and Prussian Blue)

Paper:
Whisper White 100730 Cut: 8-1/2″ x 5-1/2″
Dapper Denim 141414 Cut:5-1/4″ x 4″
Perfect Plum 101889 Cut: 5″ x 3-3/4
Shimmery White 101910 4-3/4″ x 3-1/2″
Basic Black 121045 scrap for greeting (approx 3/4″ x 3″)

Accessories: 
Stampin’ Emboss Powder White 109132
Stampin’ Emboss Powder Silver 109131
Metallic Thread Silver 138402

Other:
Heat Tool, SNAIL adhesive, dimensionals, embossing buddy, water, paintbrush or aqua painter, painters tape

Instructions:

1. Ink up dragonfly stamp with versa mark and stamp on shimmery white card stock.I did mine on angle to the left side of the card, sprinkle with white emboss powder and heat set.

2. Attach to a work board using painters tape, covering approx. 1/4″ of the edges- this will create a nice border when done.

3. Put a small amount of water on an acrylic block, shake a small amount of blue and red brusho on block to create purple, dab the purple randomly on the wings of the dragonfly.

4. Clean block, add water and blue brusho, mix together and repeat above step with the blue. Heat set

5. Add additional water to create a light wash, using a wide flat paintbrush or aqua painter, wash in this colour around the dragonfly, be sure to leave some white space. Heat set.

6. Carefully remove the painter tape.

7. Fold Whisper White card stock in half to create card base

8.  Adhere Dapper Denim and then Perfect Plum mat to card base, set aside

9. Ink up greeting with versa mark and stamp on black card stock. Sprinkle silver emboss powder and heat set, flag the right side. Adhere SNAIL to the back of the banner greeting and make a small nest with the the silver thread and stick to the adhesive, attach greeting towards bottom right of card.

Want more great card ideas? Sign up for my newsletter.


Stampin Up’s Crafting Forever with Watercolour Pencils

I created this card in the Spring for a card swap. I confess, I love card swaps! They are a great way to share your talent with others and to get ideas for creating cards. As a demonstrator, I  share card ideas with my customers. Card swaps allows me to have cards using stamp sets I may not have purchased ( and then after seeing an amazing card, I am tempted to add it to my wish list…sigh, such is the life of a craft-aholic)

For this card I used the Crafting Forever stamp set, Color Theory Designer Series pack and the new Watercolor Pencils. I love how the pencils glide easily on the paper and the blending

Check out this tutorial on how to put this card together:

Berry Burst card stock: cut at 8-1/2″ x 5-1/2″

Whisper White card stock cut 2 @ 5-1/4″ x 4″

Color Theory  Designer Series Paper Pack cut at5-1/2″ x 1-1/2″

Berry Burst Classic Stampin Pad

Basic Black Archival Stampin Pad

Touches of Texture stamp set

Rhinestones

Blender Pens

Aquapainter


Colour with Wink of Stella


I created this card to feature this colouring technique.

Inking up the Wink of Stella glitter brush with the Fresh Fig ink allowed me to add a subtle shimmer to the card without all the mess and fuss of glitter.

Scroll down for cutting instructions and supply list. The video gives details on how to put the card together. This is a quick and easy card to put together.

In this photo I am showcasing the card done in each of the new 2017-2019 in colours:

 Lemon Lime Twist; Powder Pink; Fresh Fig; Tranquil Tide and Berry Burst. It was hard to pick a favourite!

This would be a great gift to give to a teacher, friend or co-worker.

Check out the video to see how to put this card together:

To create this card, cut:

Whisper White  base: 8-1/2″ x 5-1/2″

scrap to punch out two daisies and the flower centre.

Fresh Fig  1-3/4′ x 5-1/2″

Fresh Florals DSP: 1-1/2″ x 5-1/2″

SUPPLIES:

Fresh Florals Designer Series Paper Stack
Fresh Florals DSP 144131

Daisy Delight Photopolymer Stamp Set
Daisy Delight Stamp Set 143669

Daisy Punch

Daisy Punch 143713

Wink of Stella Glitter Brush 141897

1/2" (1.3 Cm) Circle Punch

1/2″ circle punch 119869

Fresh Fig 8-1/2" x 11" Cardstock
Fresh Fig card stock 144242

Fresh Fig Classic Stampin' Pad
Fresh Fig Classic Stampin’ Pad 144082

Whisper White 8-1/2" X 11" Cardstock
Whisper White card stock 100730

Snail Adhesive
Snail Adhesive 104332

Stampin' Dimensionals
Stampin’ Dimensionals 104430