Paper Pumpkin March 2018 Alternate Projects

As I am writing this blog we are having some crazy weather here today!! Winds gusting at 100km/h and snow!!!

Wow!!! What better reason to create some cards.

Today I am featuring the very vintage March subscription box. The kit creates 8 cards, and so far I have created 12 by alternating a few of the items. I still have a few bits left, so we will see where that leads me. Be sure to check out the video below to get inspired to create:

I love that the envelopes are the perfect size for adding a flower seed packet. I think this would be a great Mother’s Day to gift to my friends. Especially the ones that I know love gardening.

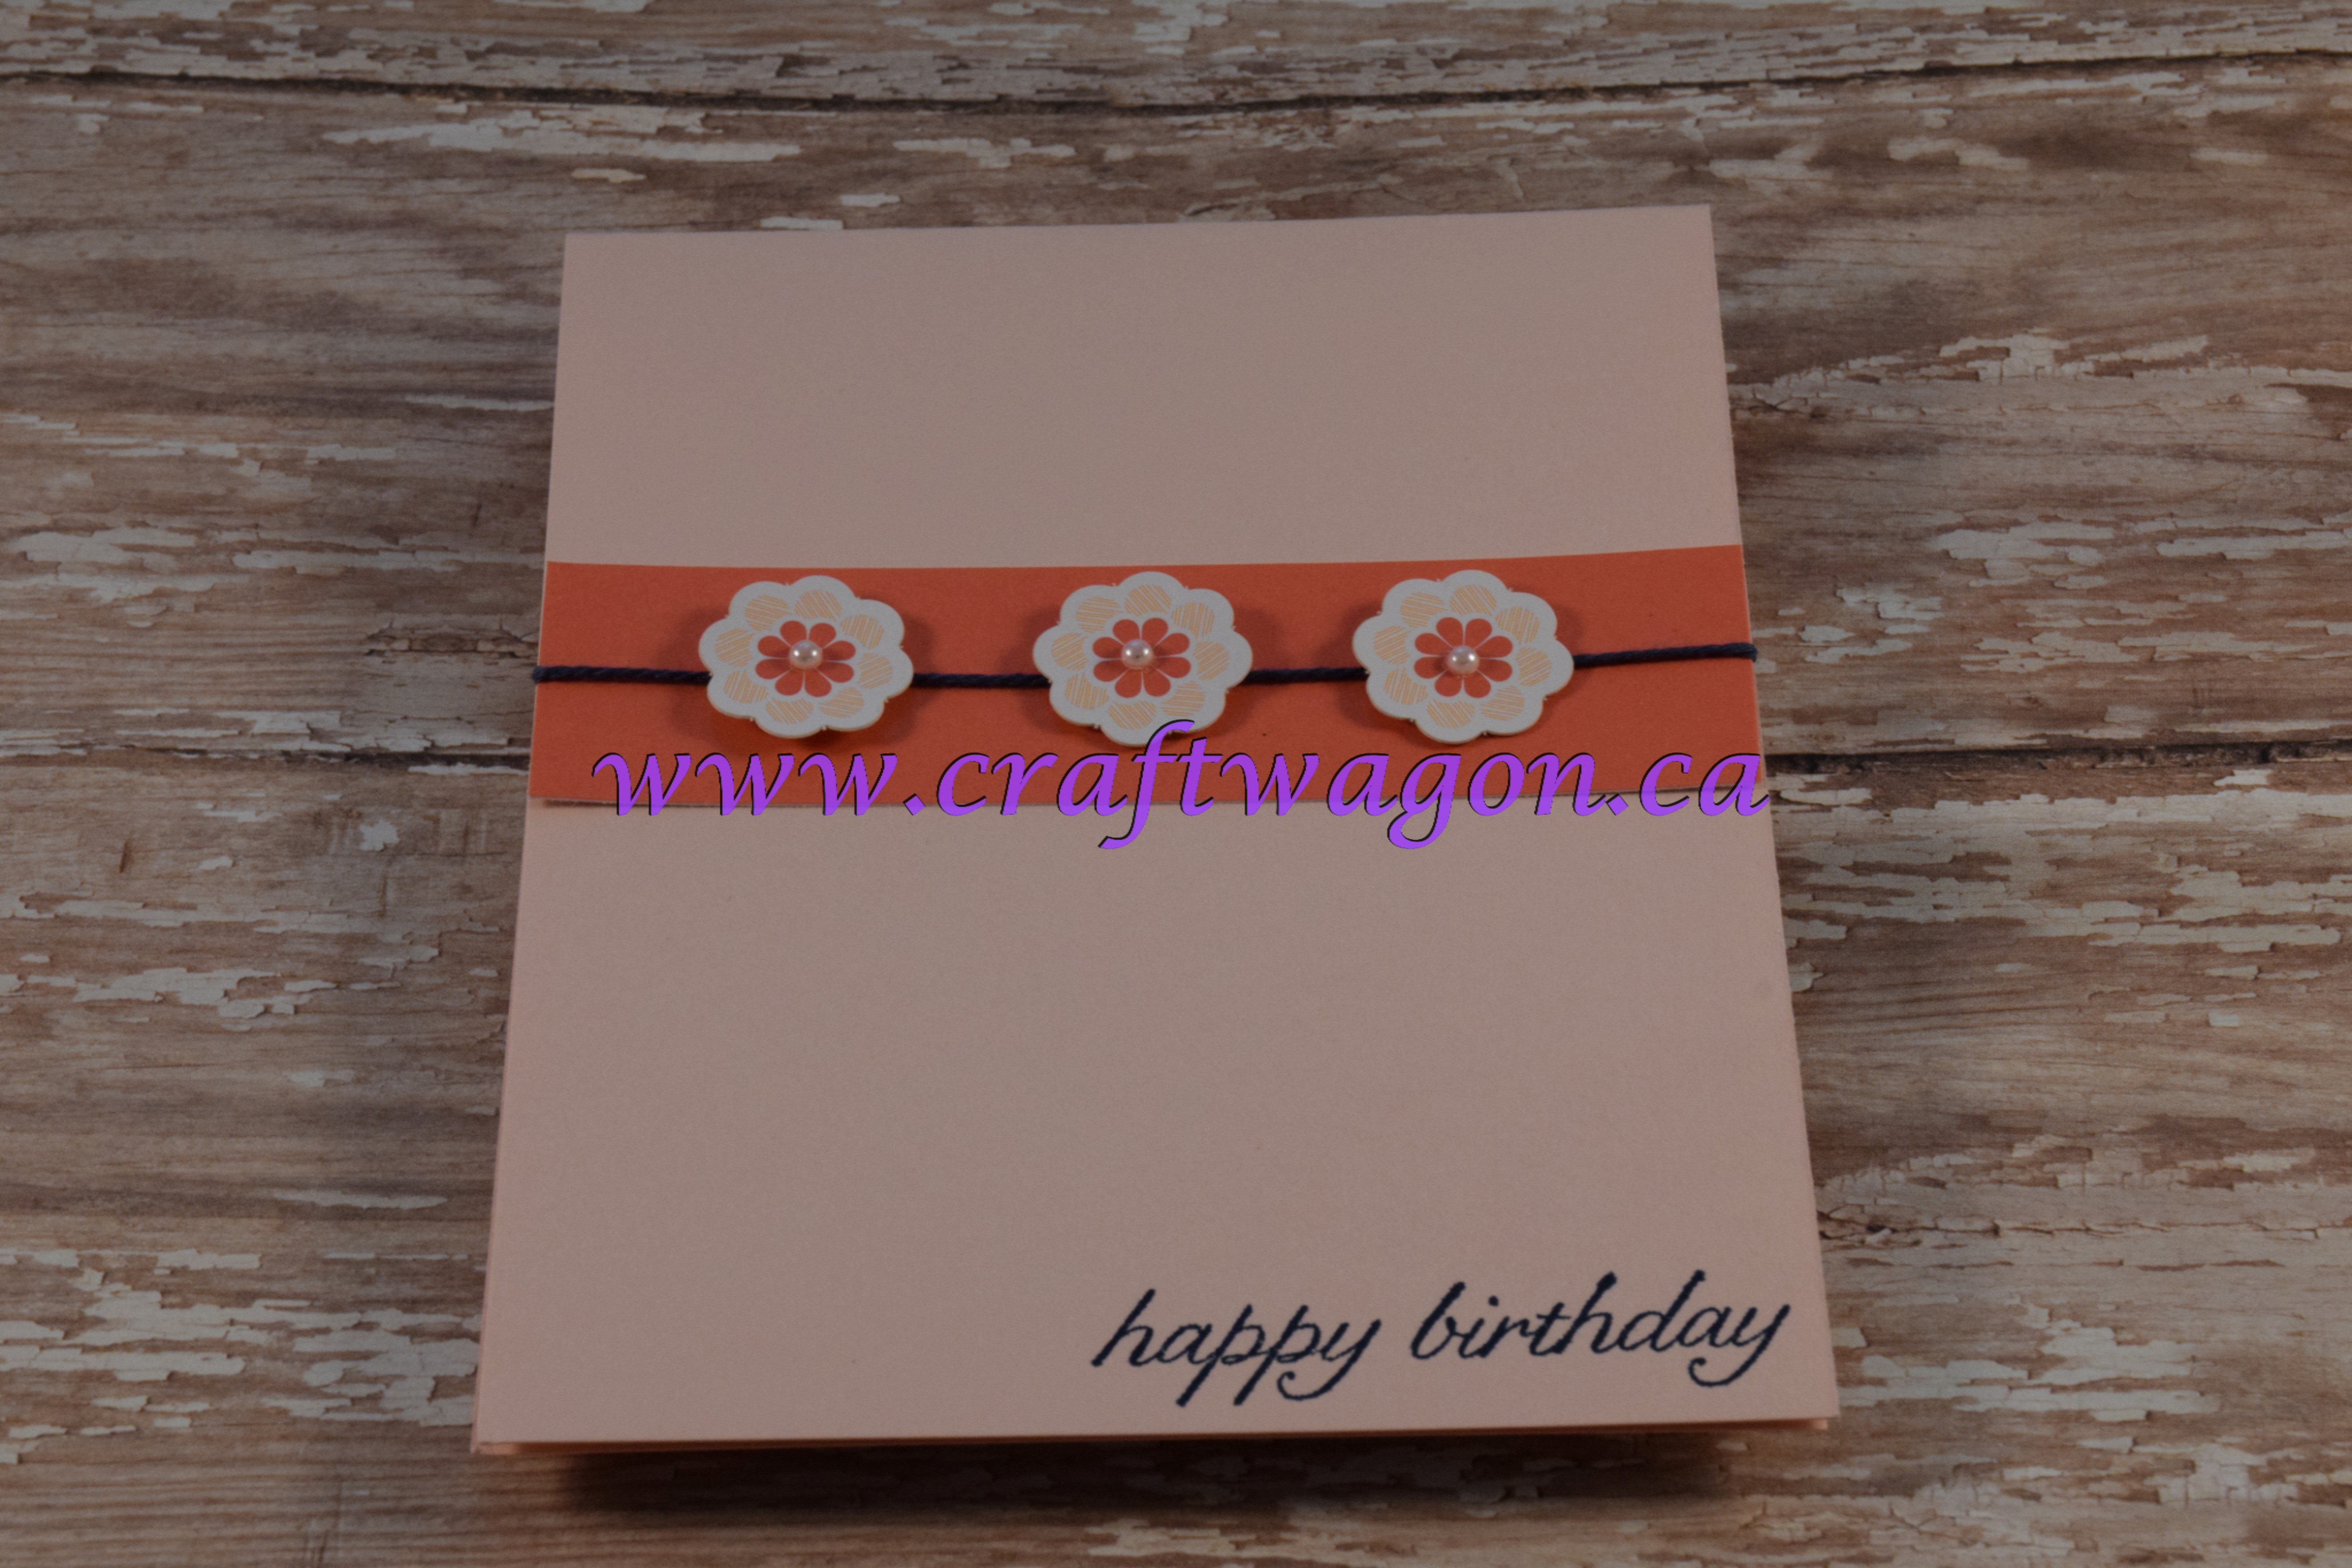
Card #1 was created by sponging over the flowers with Flirty Flamingo, Powder Pink and Pear Pizzazz inks and a sponge dauber. I also coloured the wood flower element.


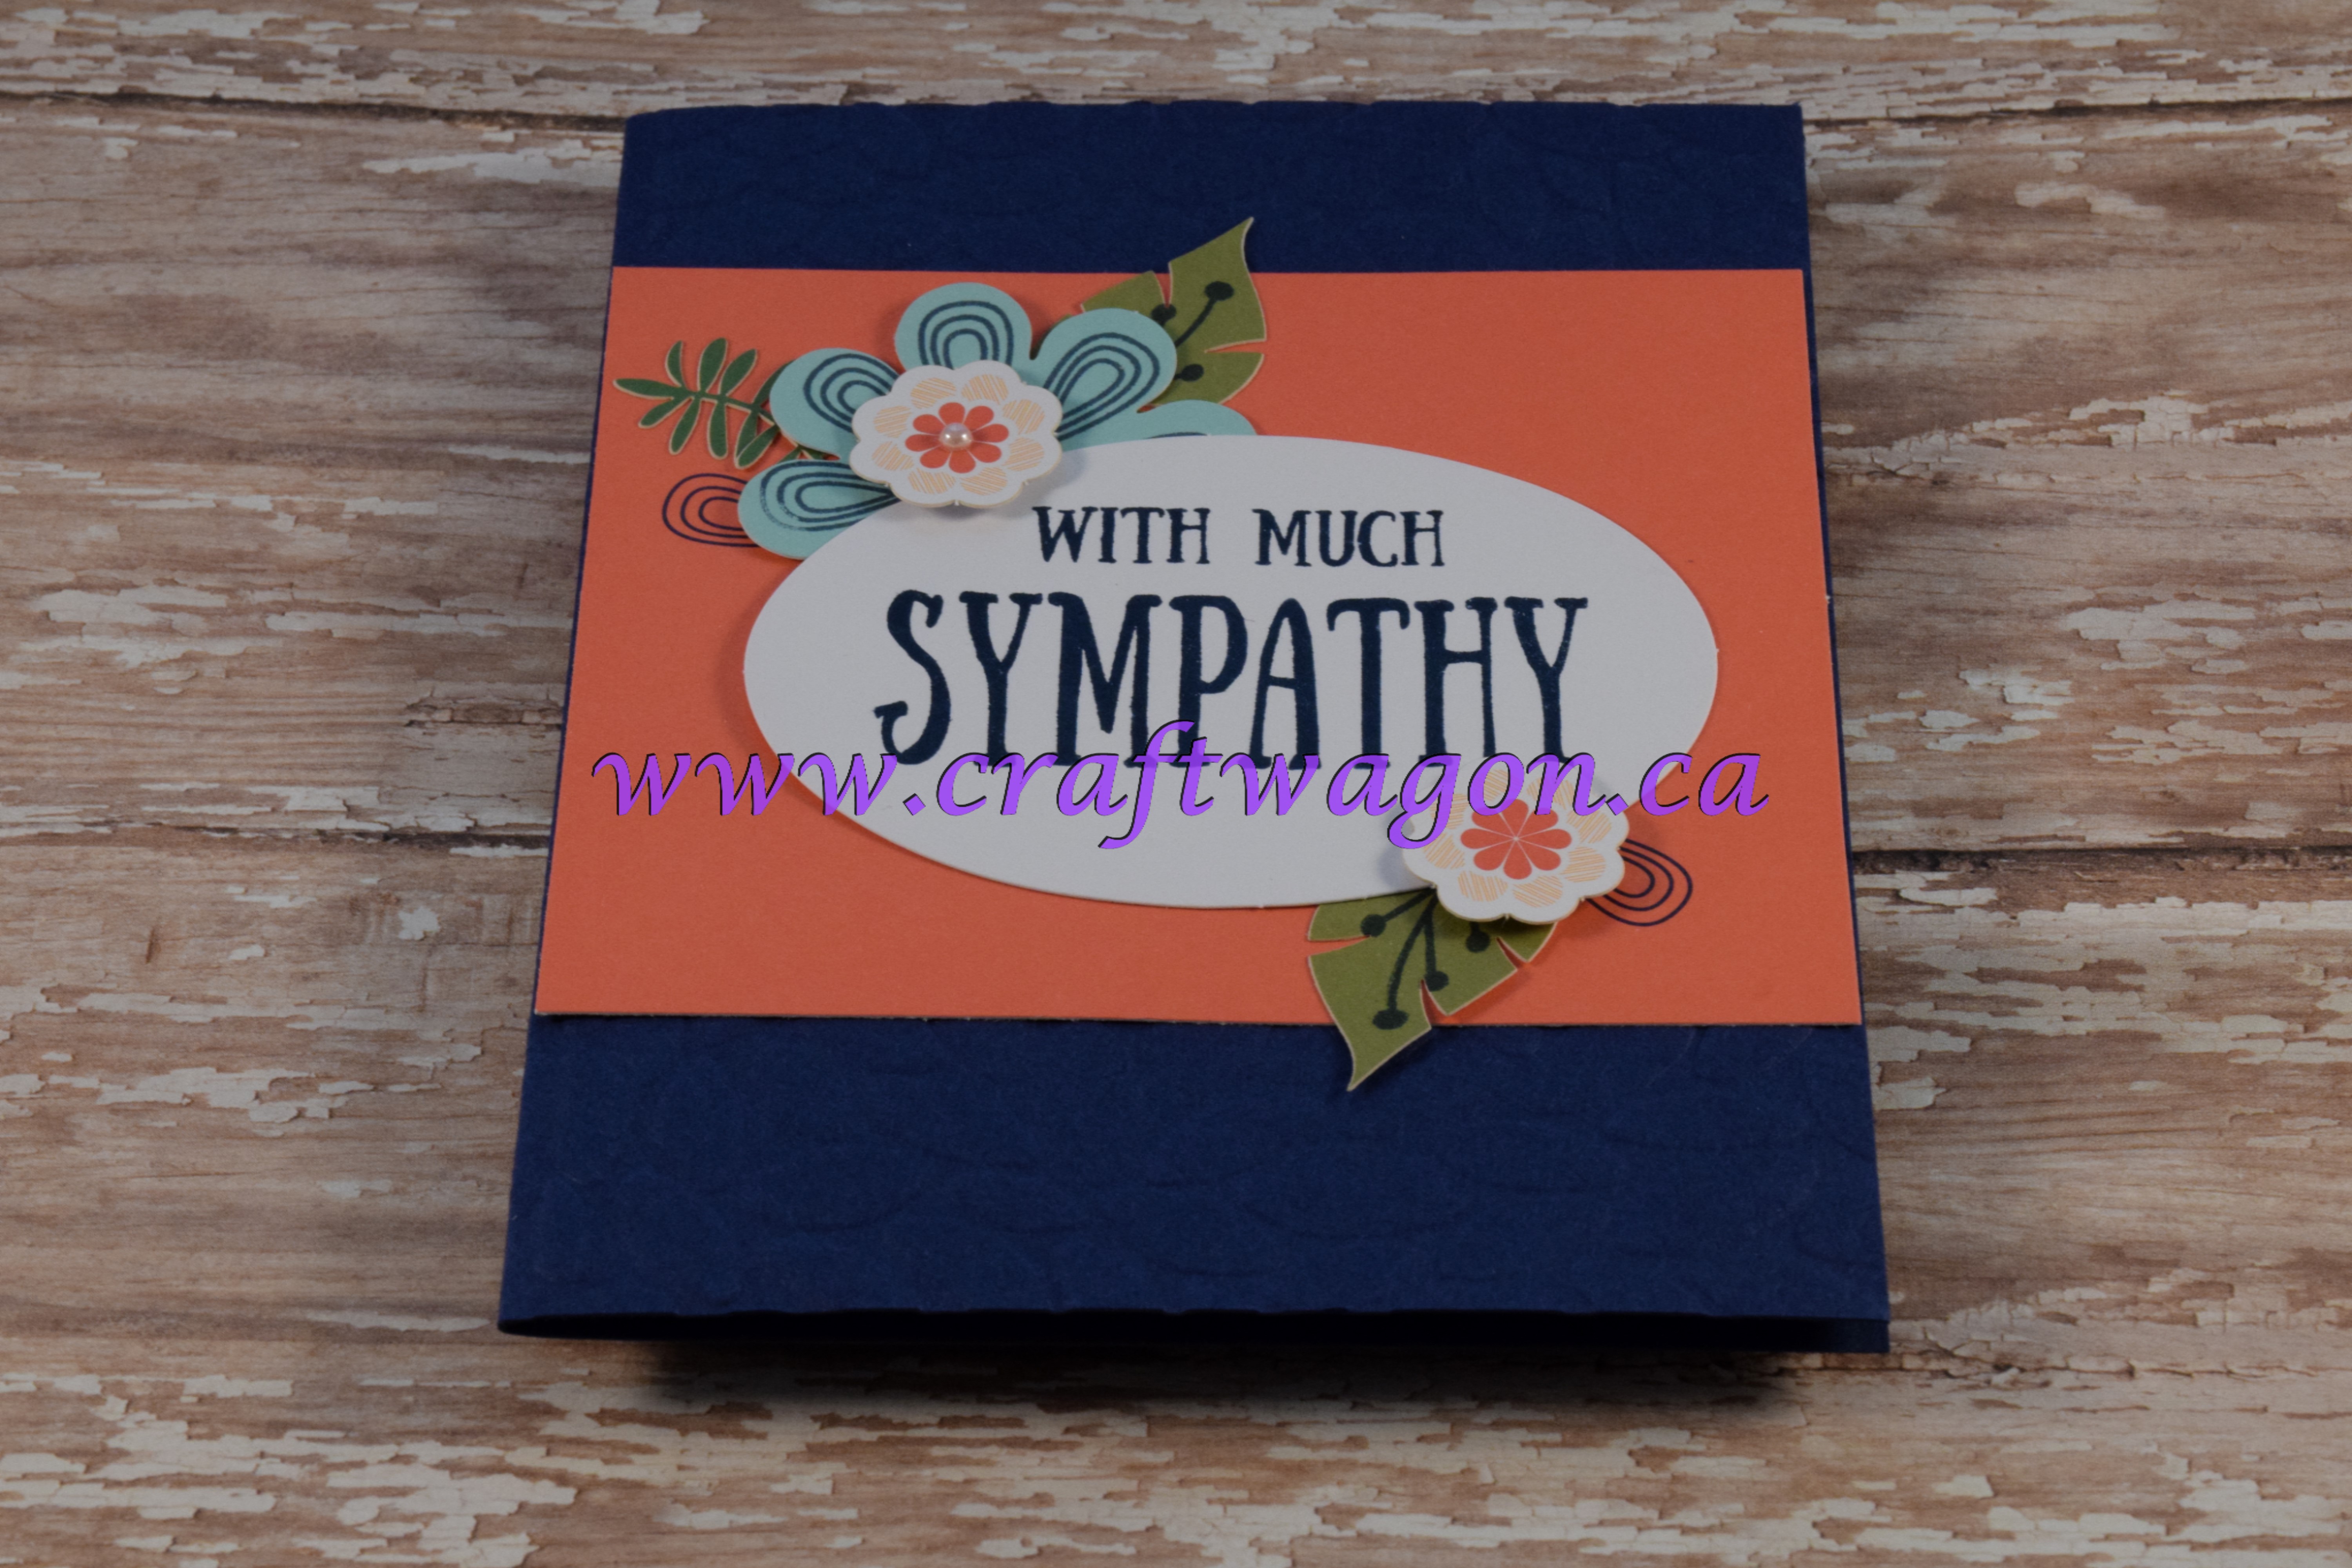
Card #2 was created by trimming down the front portion of the envelope. Here I used a Powder Pink card stock base, cut the included pink mat on a diagonal and added the luscious ribbon. (Afterthought, the brads could be used to adhere the ribbon too!)

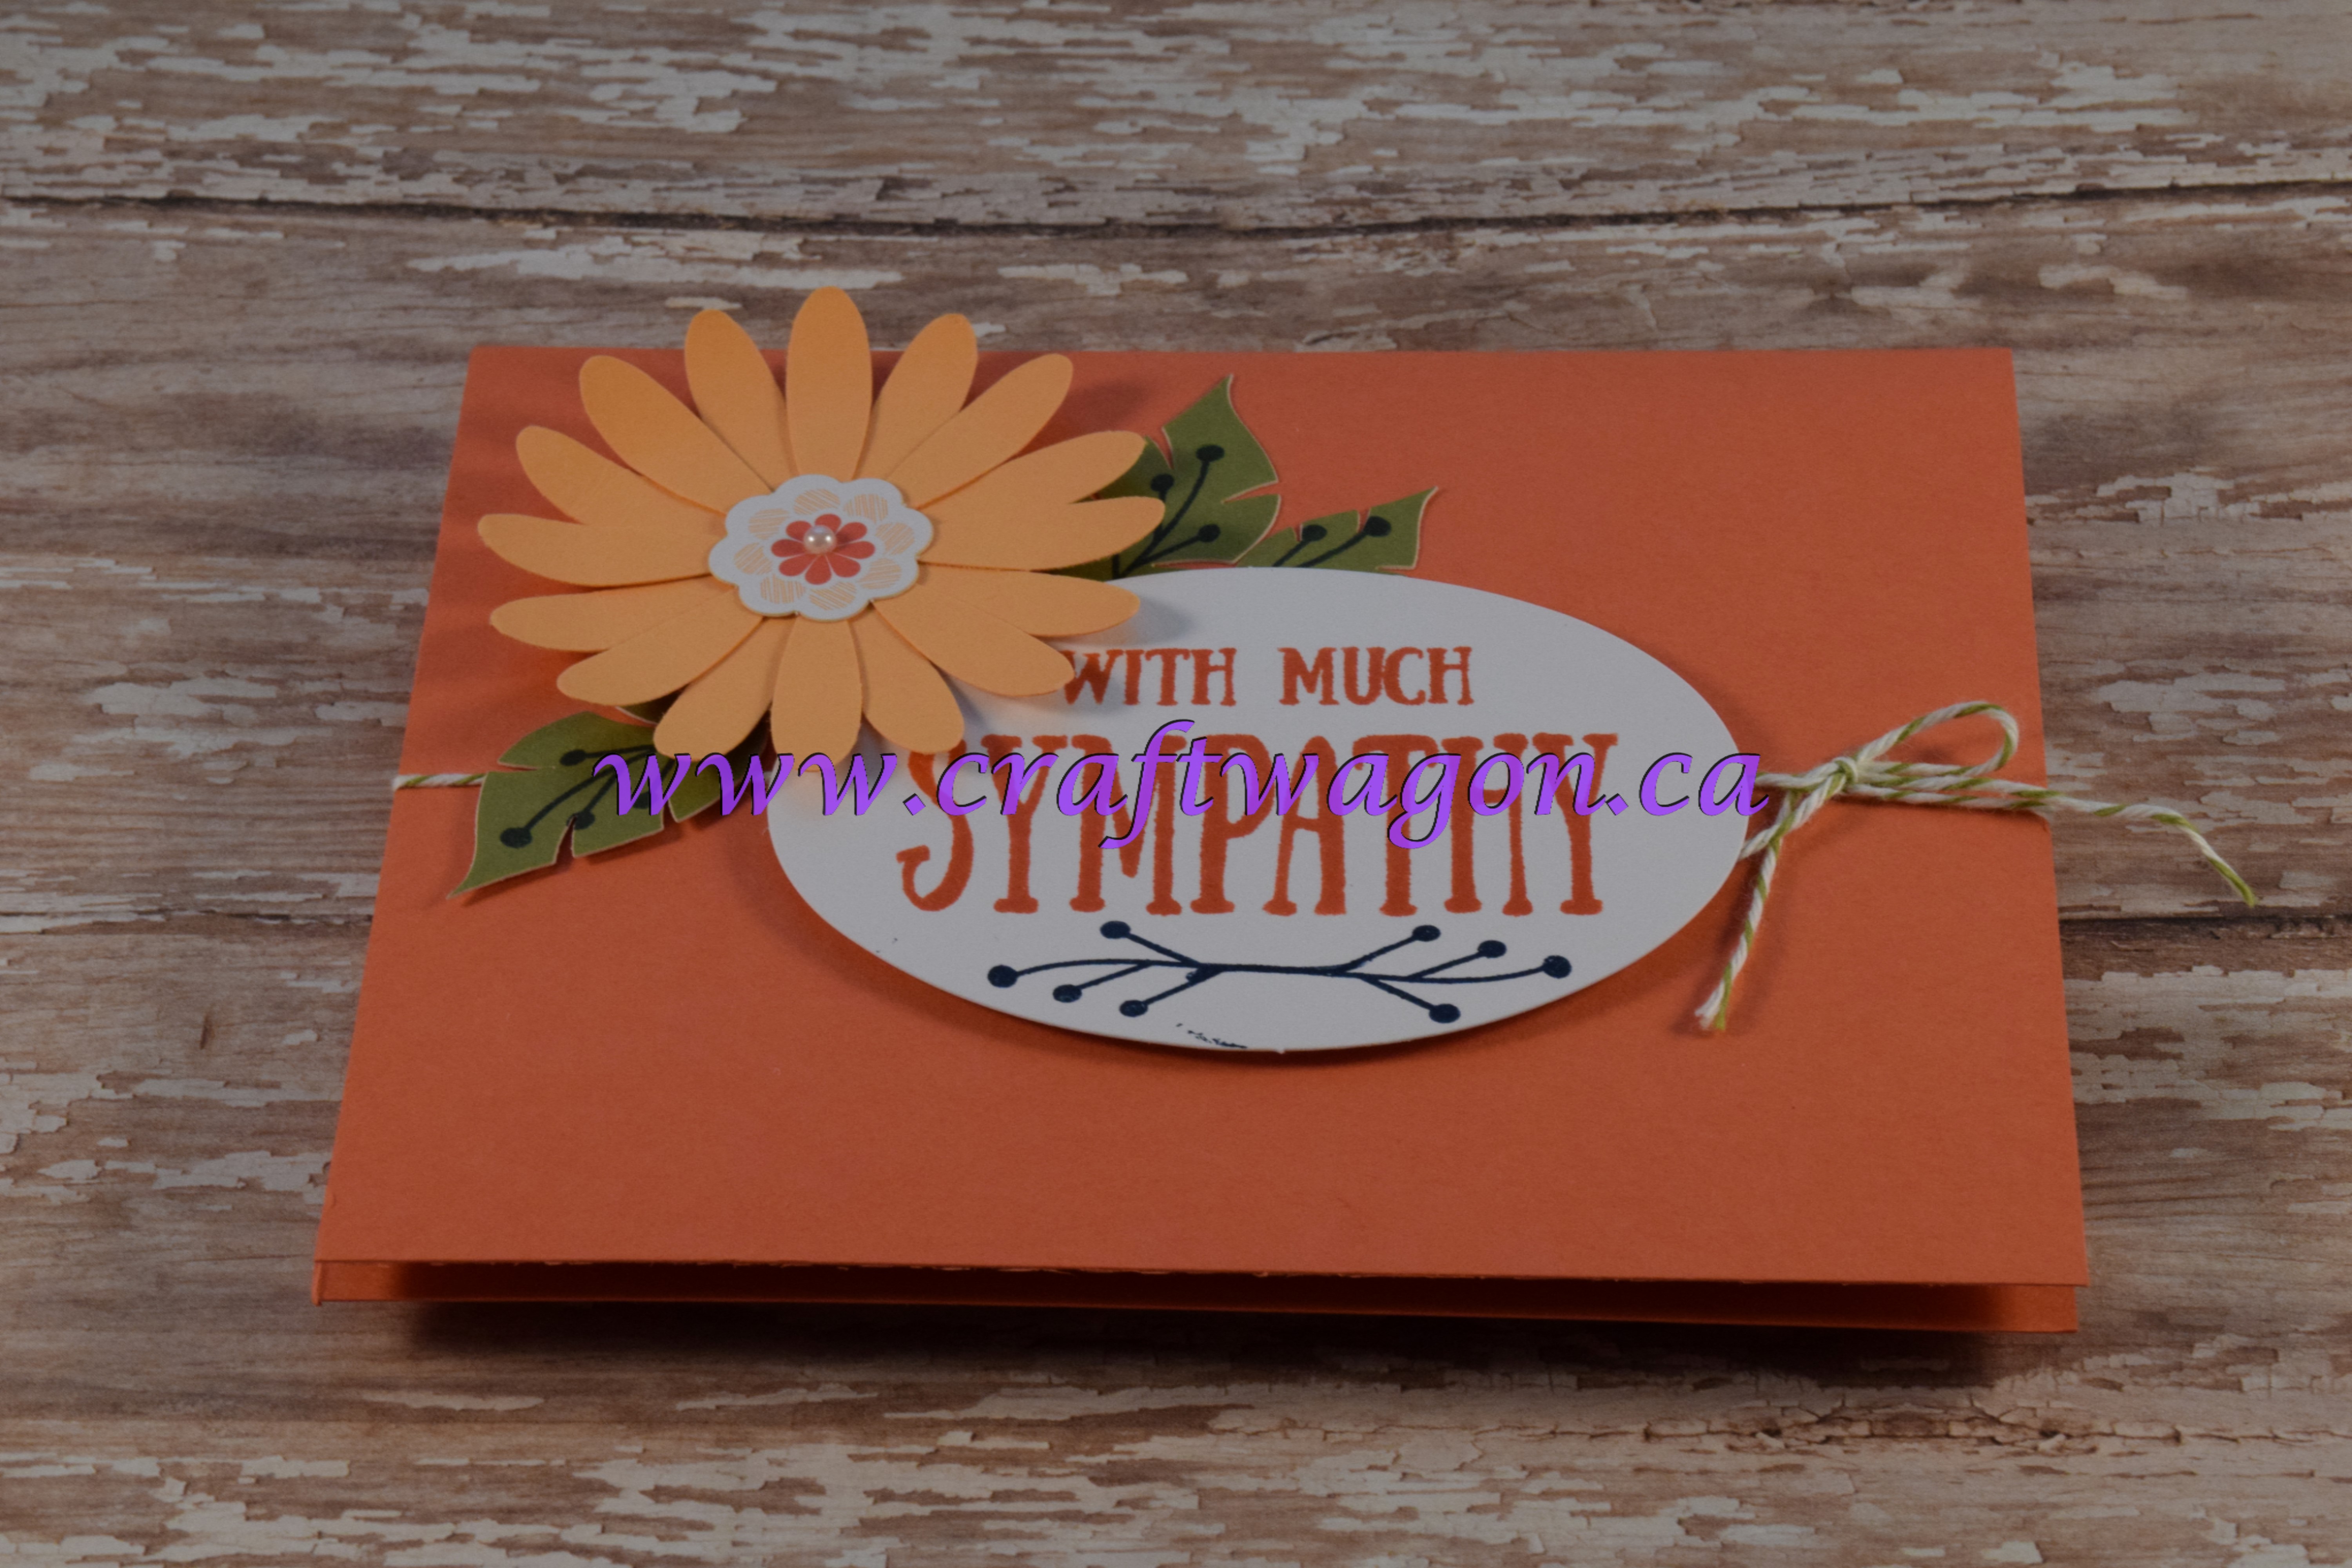
Card #3 is a variation on the original envelope. I cut apart the coloured flowers so that I could bump them up, added some sponged Early Espresso ink to the edges.


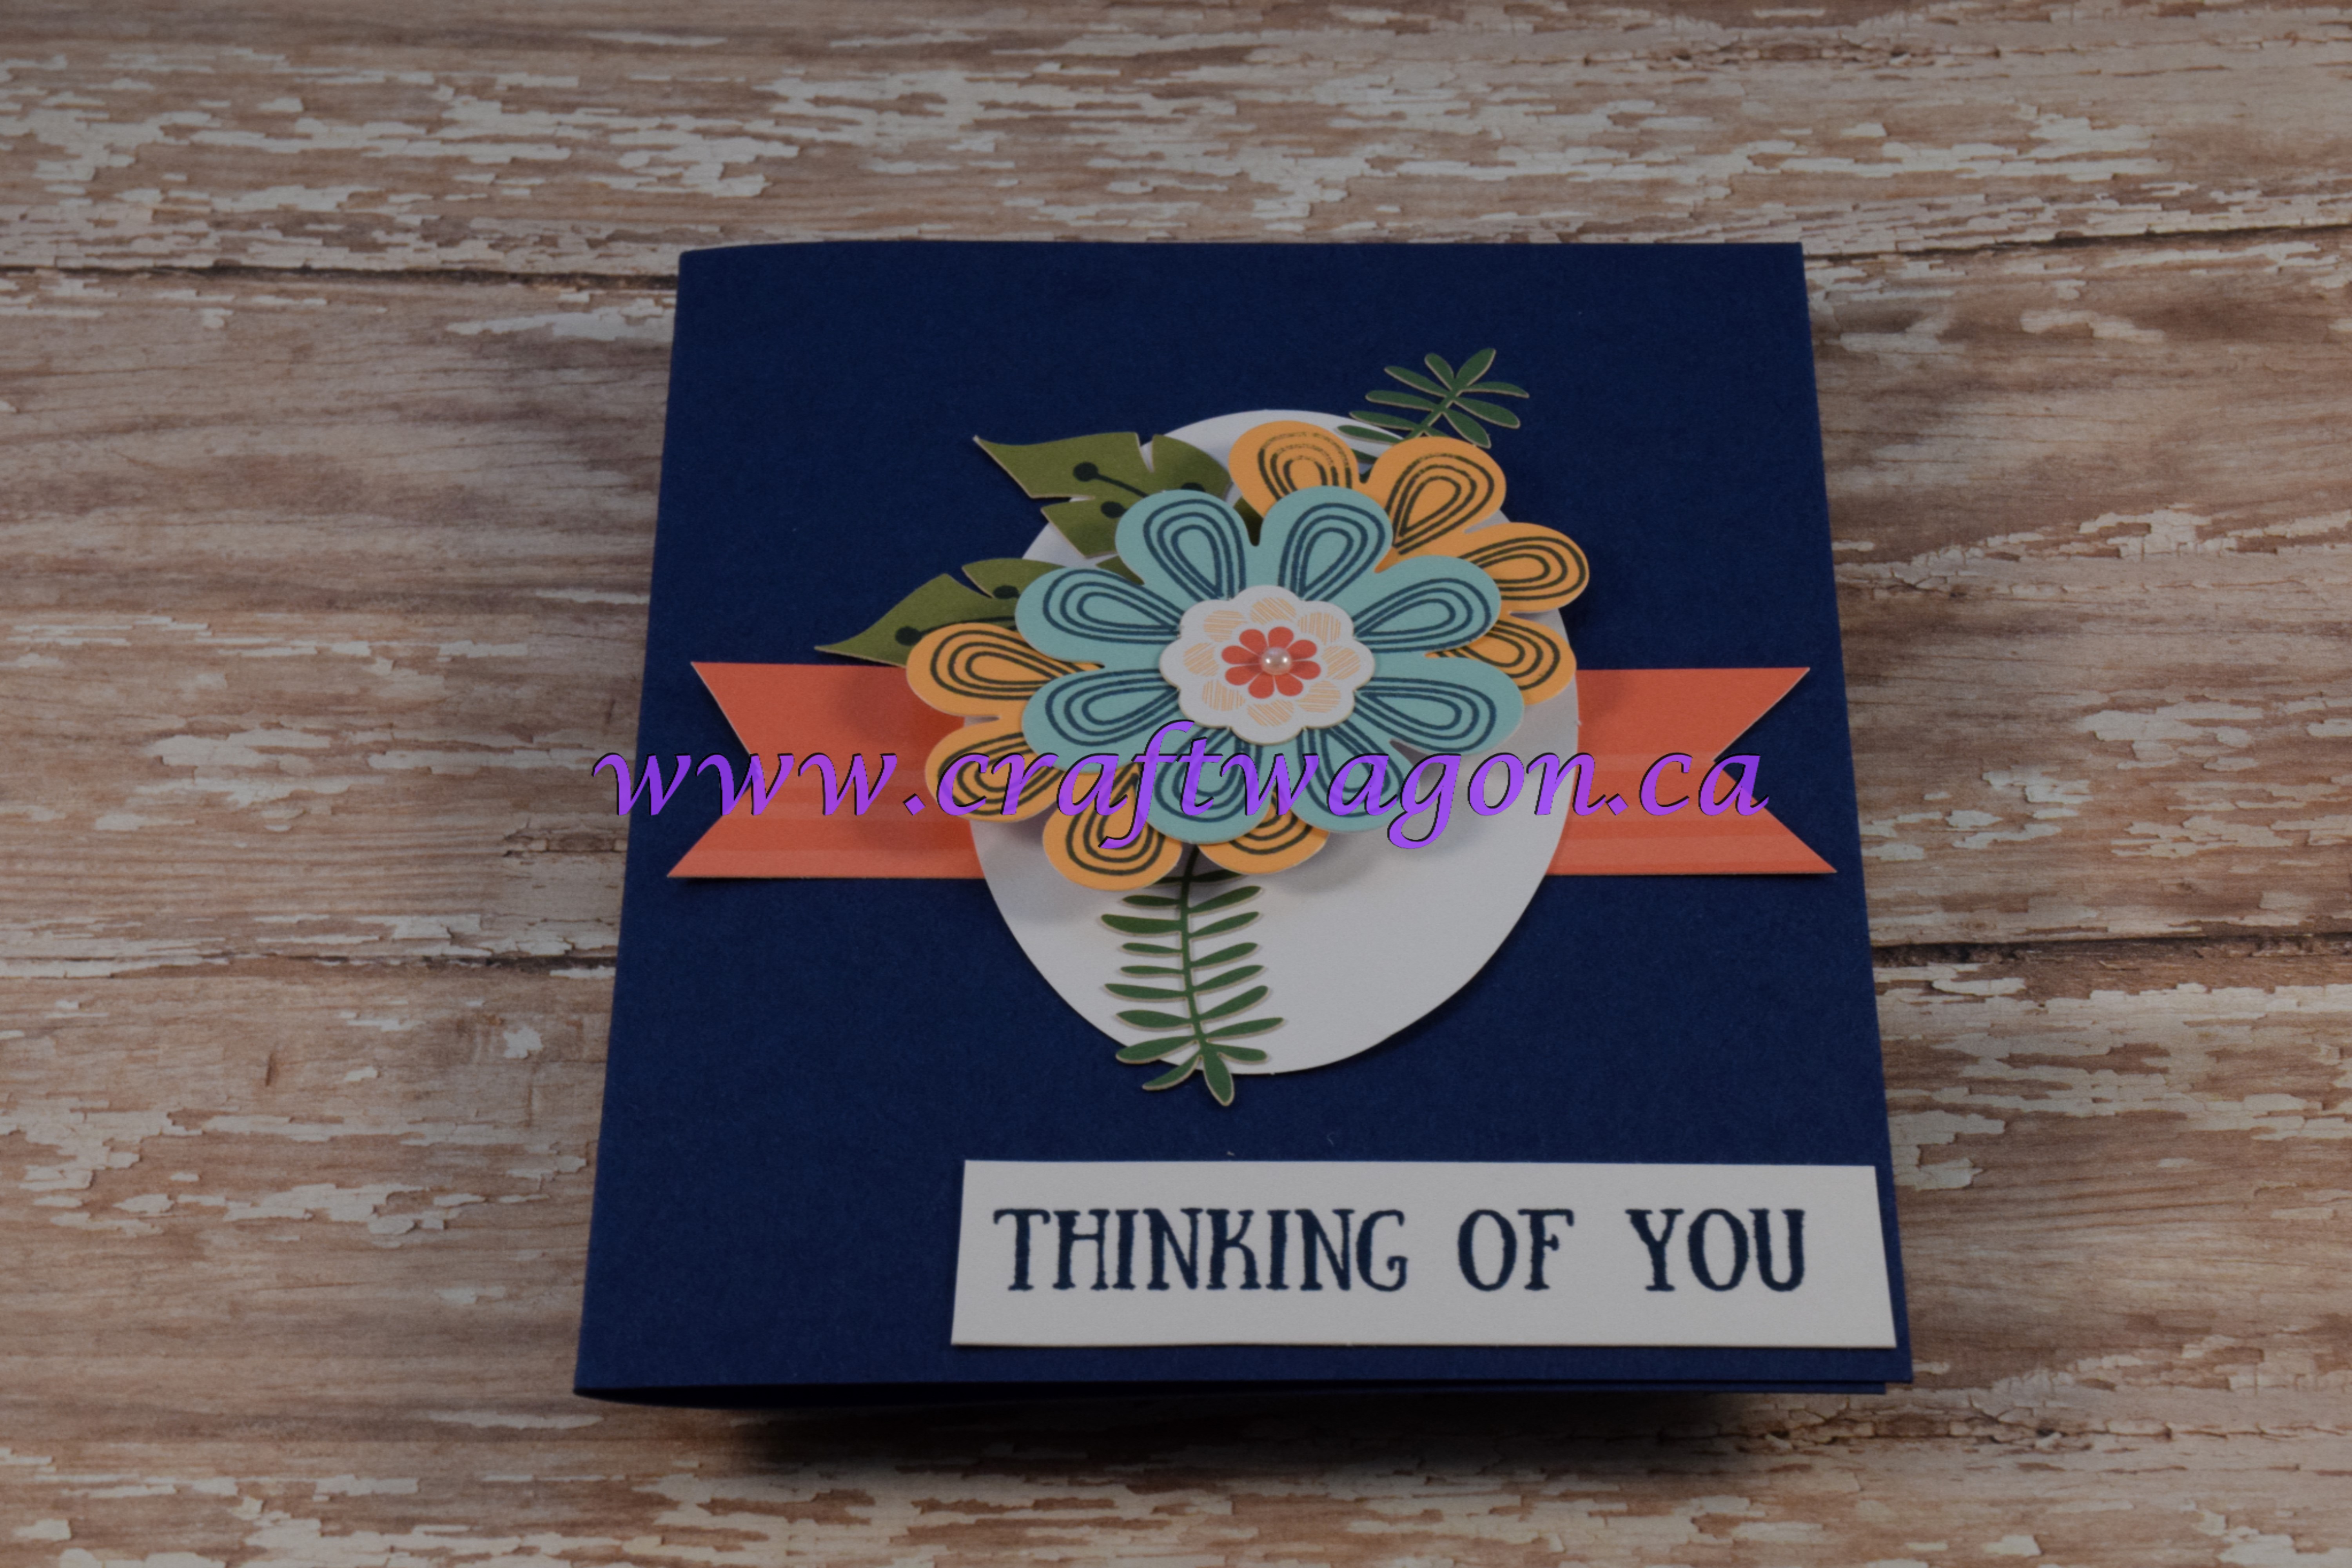
Card #4  A tech glitch caused me to loose the first part of this clip.  To create the flap, I used the leftover envelope piece from card #2 to add a strip to the back. This gave me something to anchor the flap. I used the floral stamp ( afterthought the leaves stamp would work too!) to create an allover stamped image. I adhered the strips and floral sprays included in the kit and sponged the wood element. What I love about this card is when the flap is closed or opened the card is beautiful!


Thanks so much for sticking around to the end. If you are interested in the Paper Pumpkin deal (50%), please click the link below. When I see you join as a subscriber with me, I will send a thank you card and you will automatically be part of my Paper Pumpkin club.

https://tinyurl.com/roxpaperpumpkin

Creatively Yours,

Roxane

Paper Pumpkin August 2017 Alternate Projects…take 2

I went a little crazy with this kit.In total I created 12 cards and I still have bits left over.  Here are four more designs.

Floral Birthday
To create this card cut a piece of Powder Pink card stock 11″ x 4-1/4″

Ink up ‘happy birthday’ greeting and stamp on bottom right corner

Cut leftover scrap of Calypso Coral card front (4-1/4″ x 1-1/2″)

Attach a piece of navy twine to the middle of this then attach to card front

Add dimensionals to the back of three flowers and place them in a row on top of the twine

Add pearls to the center of each card

Voila!

Coral Sympathy

To create this card I used the Calypso Coral card base from the kit

The blank oval in the kit was used to ink up the greeting

Punch two daisies using the Daisy Punch, add the floral centre.

I used the leaves and the stamp in the kit to add details to the leaves and under the greeeting

Old Olive twine was tied with a bow, under the oval. I adhered the oval and the daisy with dimensionals.

A pearl was added to the center of the flower.

Voila!

Navy Sympathy
To create this card, cut Night of Navy card stock 8-1/2″ x 5-1/2″

Cut Calypso Coral scrap 3-1/2″ x 4-1/4″ attach to card front

Ink up greeting with Night of Navy and stamp on blank oval ( from kit)

Create flowers and leaves as per kit instructions

I adhered the oval flat to the surface and used dimensionals to pop up the small flowers

Add pearls to the center of the flowers

Voila!


Navy Floral Bouquet

This one is my favourite!

I used the different flowers in the kit and leaves to create the floral bouquet in the center of the card.

I turned the oval, portrait, adhered the flowers with dimensionals. The leaves are flat to the surface.

Cut a piece of Night of Navy cardstock 8-1/2″ x 5-1/2″

Cut a piece of scrap Calypso Coral 1-1/2″ x 4-1/4″ and flag both ends, attach to the center of the card

Ink up greeting with Night of Navy on a piece of scrap (this is the back of the Calypso Coral card I used in the previous cards), attach to bottom right of card

Attach oval floral spray..and add some pearls and you are done!!


Thanks so much for visiting my blog today.

To keep up to date to on what’s happening on my blog, click the envelope at the top of the page:)


Stampin Up is offering coordinating kits for the months of October and November…my guess is it will give us a head start on our holiday paper crafting. Click on the link and sign up today!


Creatively Yours,

R


Paper Pumpkin August 2017 Alternate Project Ideas

I decided this month to feature alternate projects using supplies from my Paper Pumpkin kit and a few additional supplies. I challenged myself to use most of the kit ingredients and was able to come up with 9 card designs plus the 3 that were originally featured in the kit. That’s a total of 12 different cards. The kit comes with a beautiful gift box. I might divide up the cards into two gifts and create my own box with the envelope punch board.

I hope you enjoy the video and it inspires you to create some one-of-a-kind handmade cards.

For a limited time, new subscribers can save 50% of the first month. Offer ends September 10

Go to My Paper Pumpkin.com

For additional supplies, check out my online store

Night of Navy cardstock

Calypso Coral cardstock

Pool Party cardstock

Powder Pink cardstock

Wink of Stella glitter pen

Metallic Enamel Shapes

Basic Pearls

Creatively Yours!

Top 5 Reason I Love Paper Pumpkin

I have been a Paper Pumpkin subscriber since it’s inception. I took a short leave and signed up again. They have made some amazing improvements over the years. I LOVE KITS!!!!

TOP 5 Reason I LOVE PAPER PUMPKIN

  1. You need minimal additional supplies. I gather my paper snip, adhesives and clear block and I am ready to create a one-of-a-kind handmade creation in just a few minutes.
  2. Everything is in ONE box, ready to take with you anywhere: the camper, a friend’s house, the coffee shop, the library, even your own dining room table!
  3. The price point is fair for what you get. Most card kits come with 6- 8 cards, with matching envelopes. Sometime there is a project…last year it was a cute wreath.
  4. They have great bling and plenty of it! I often find I have leftovers that I can inspire me to create something of my own.
  5. A link to a YouTube video to quickly show you how to put the kit together- for us visual learners.


It’s a great way to share, create and inspire.

For a limited time NEW subscribers can save 50% off their first month. So, if you have been sitting on the fence wondering if this is for you.. then jump off and go to My Paper Pumpkin and get started on your creativity in a box.