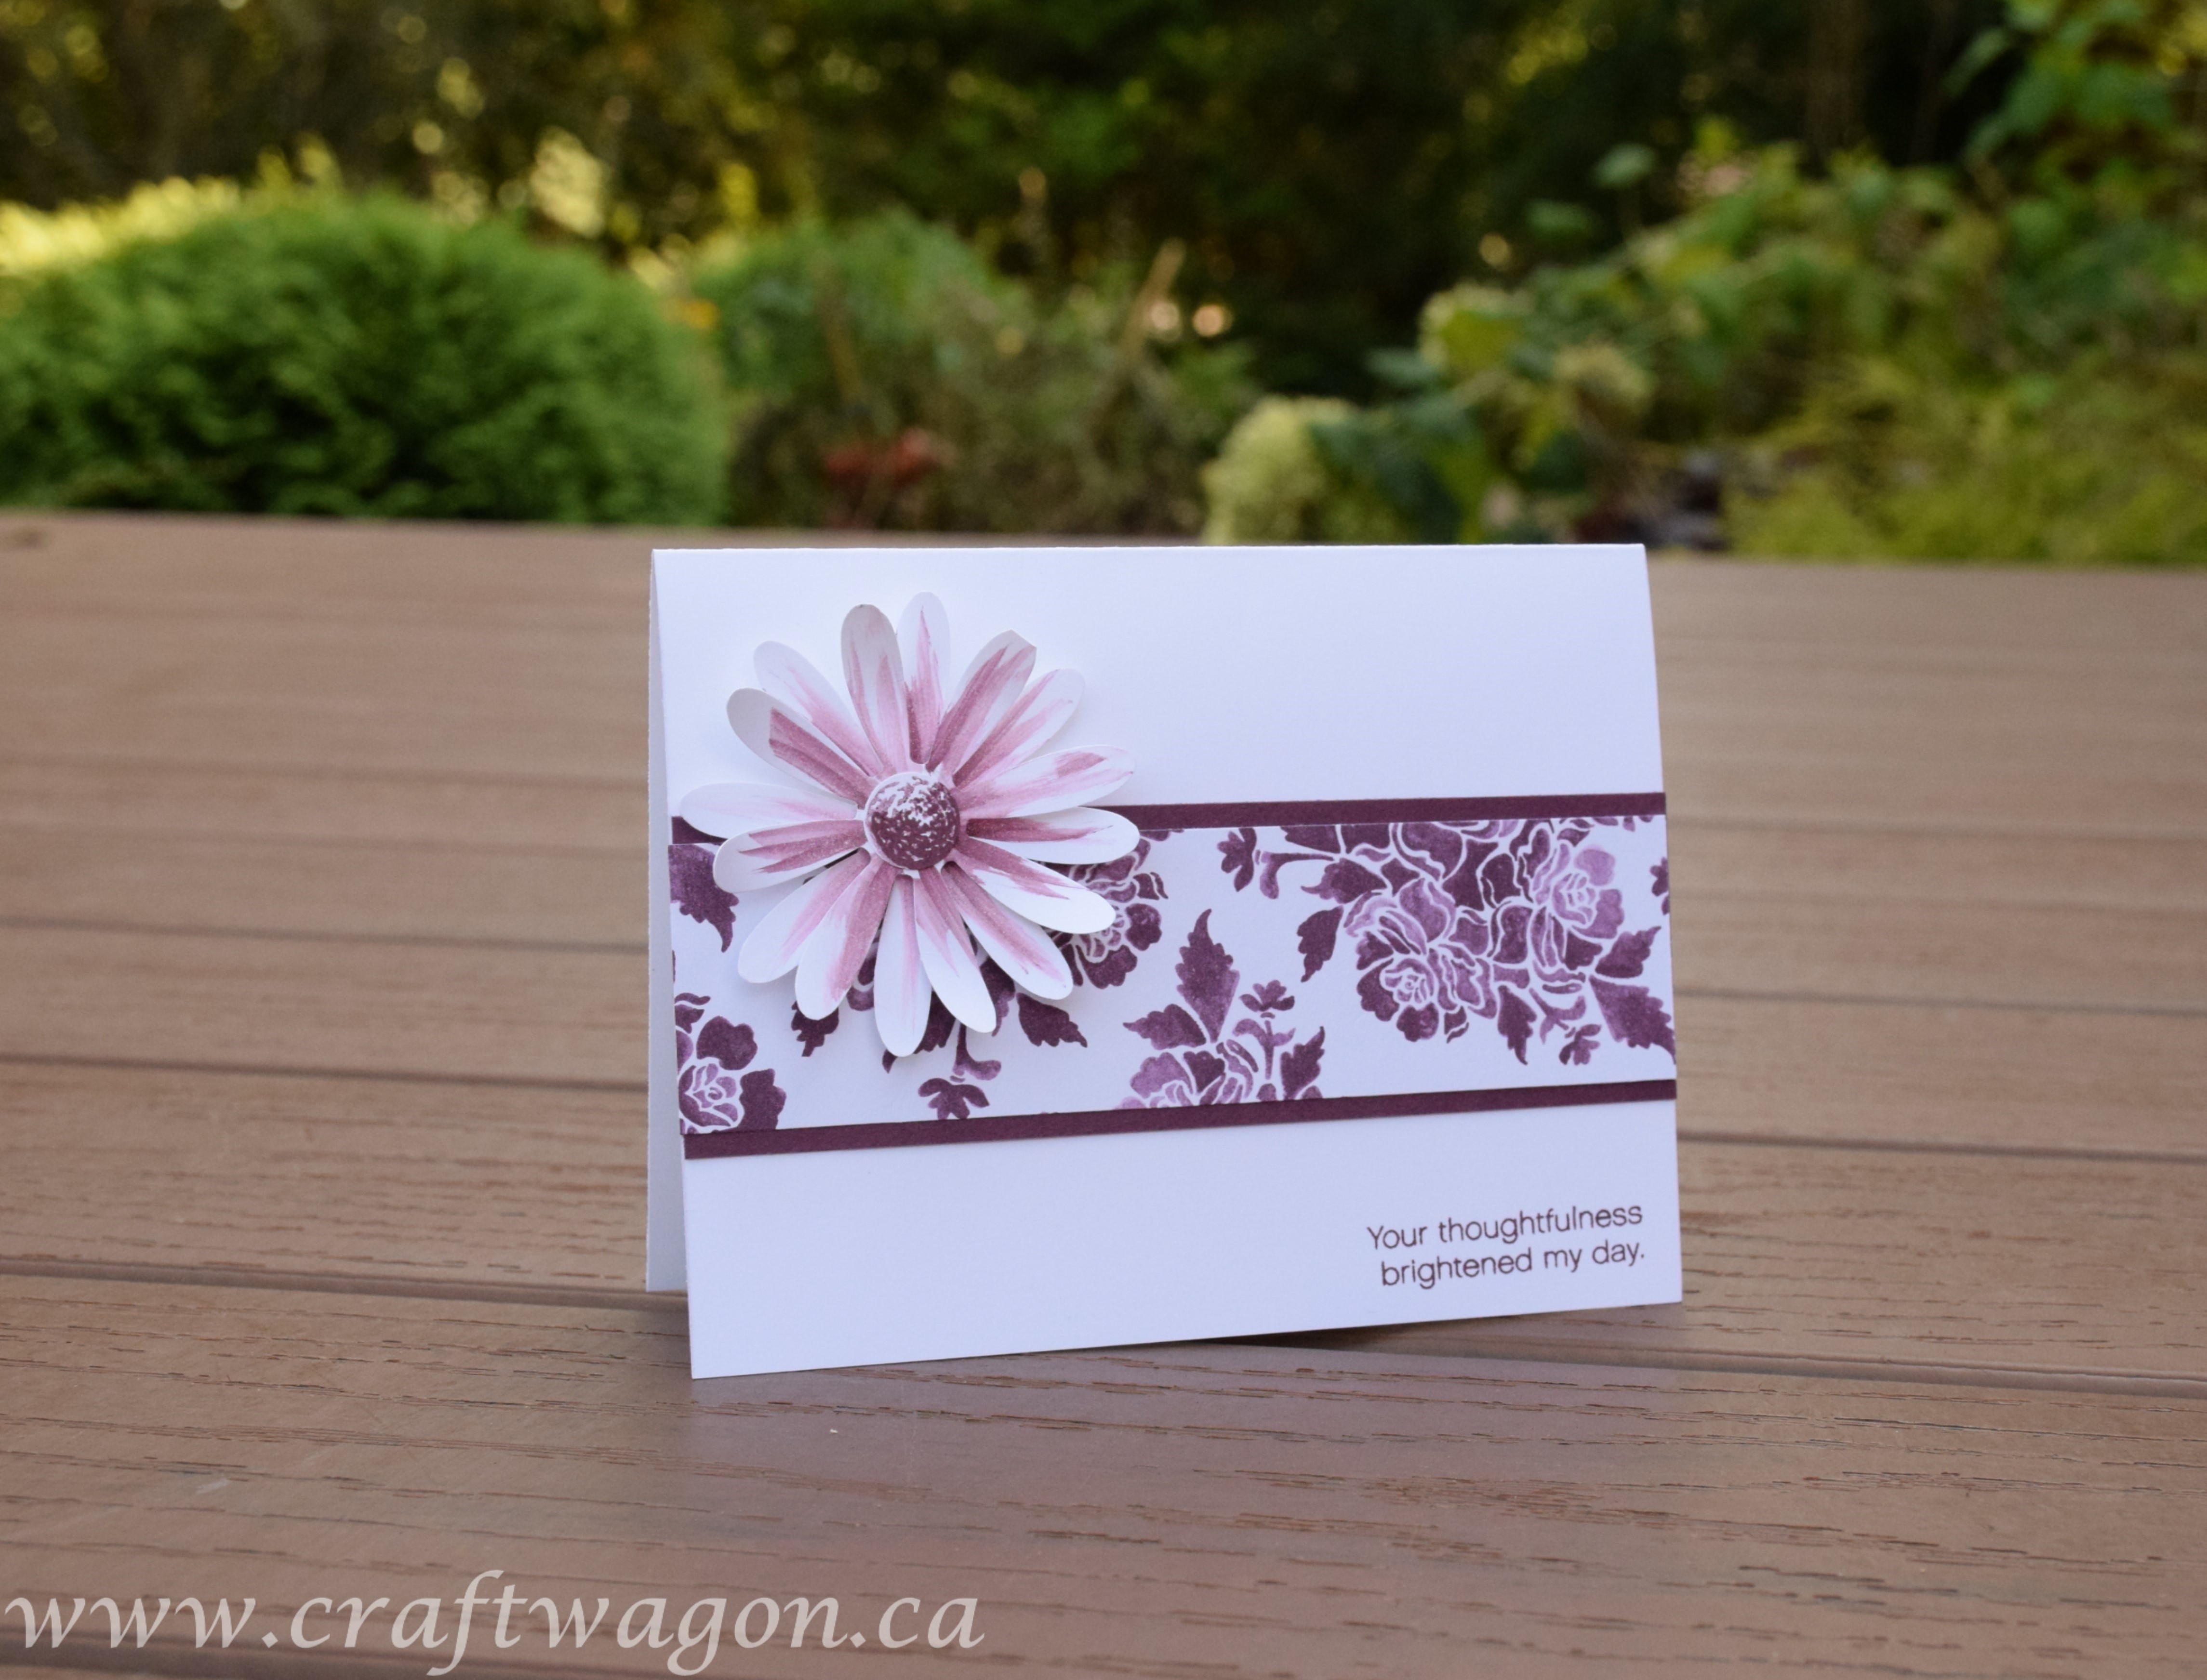
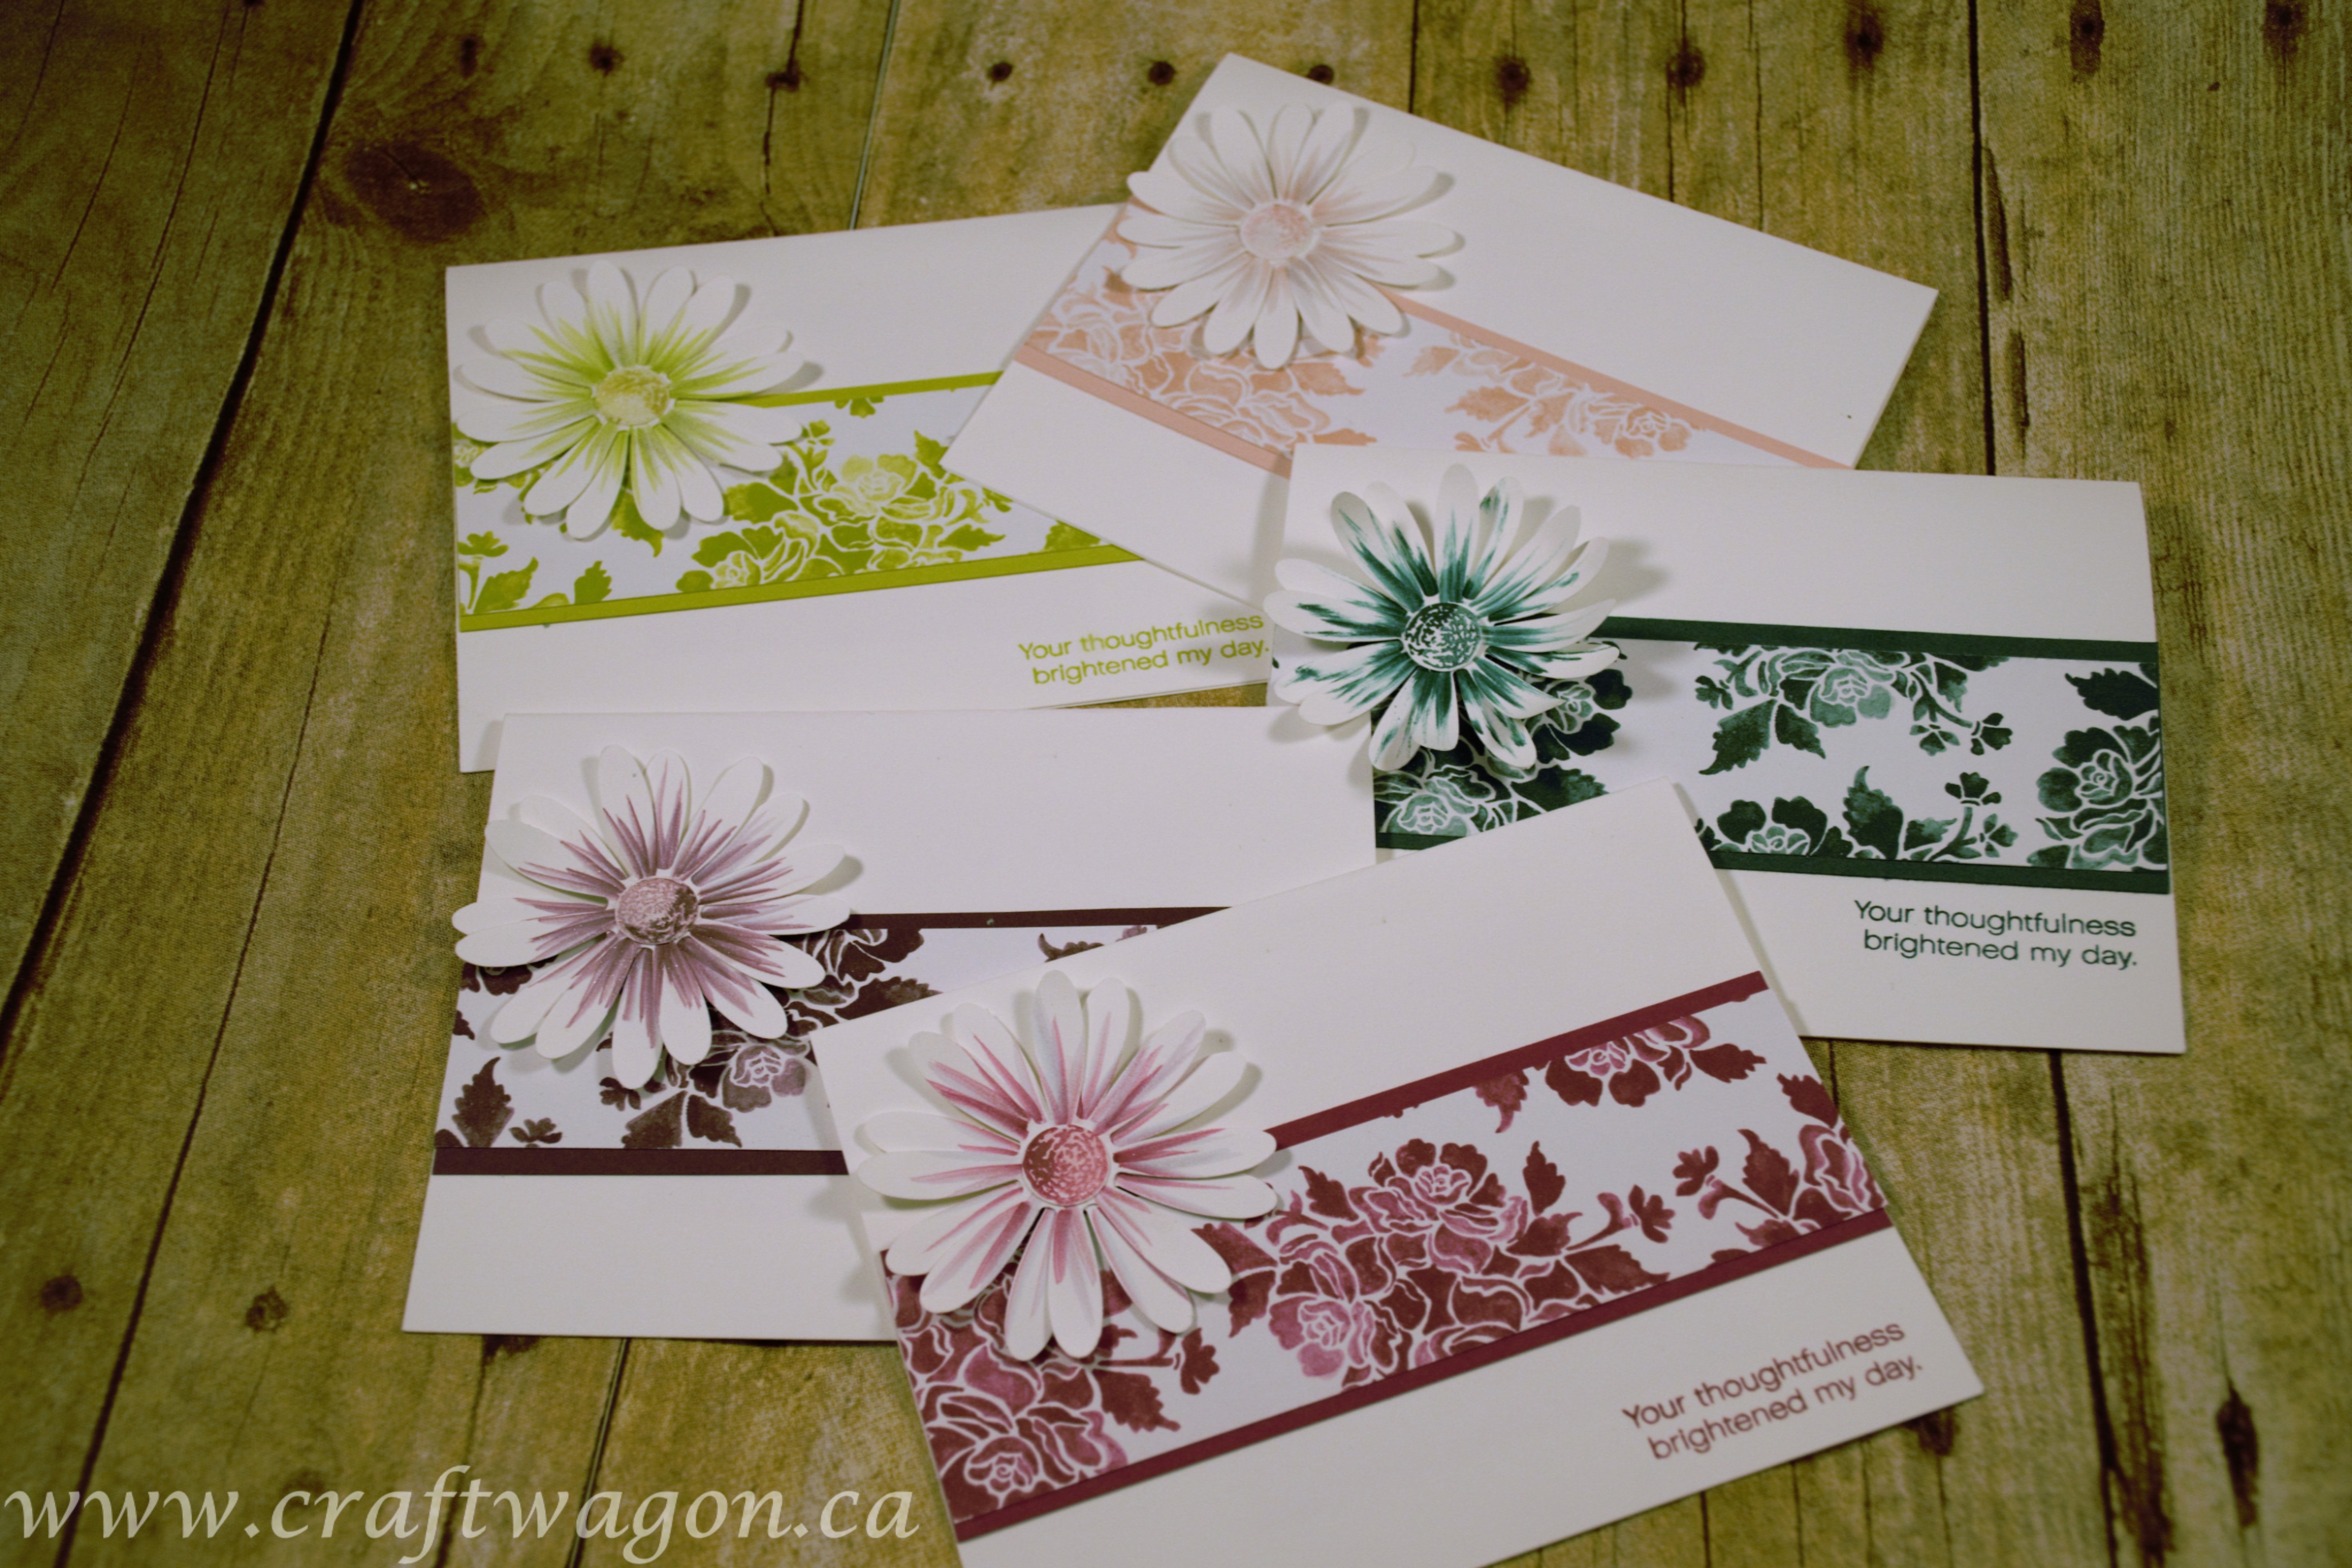
I went a little crazy with this kit.In total I created 12 cards and I still have bits left over. Here are four more designs.
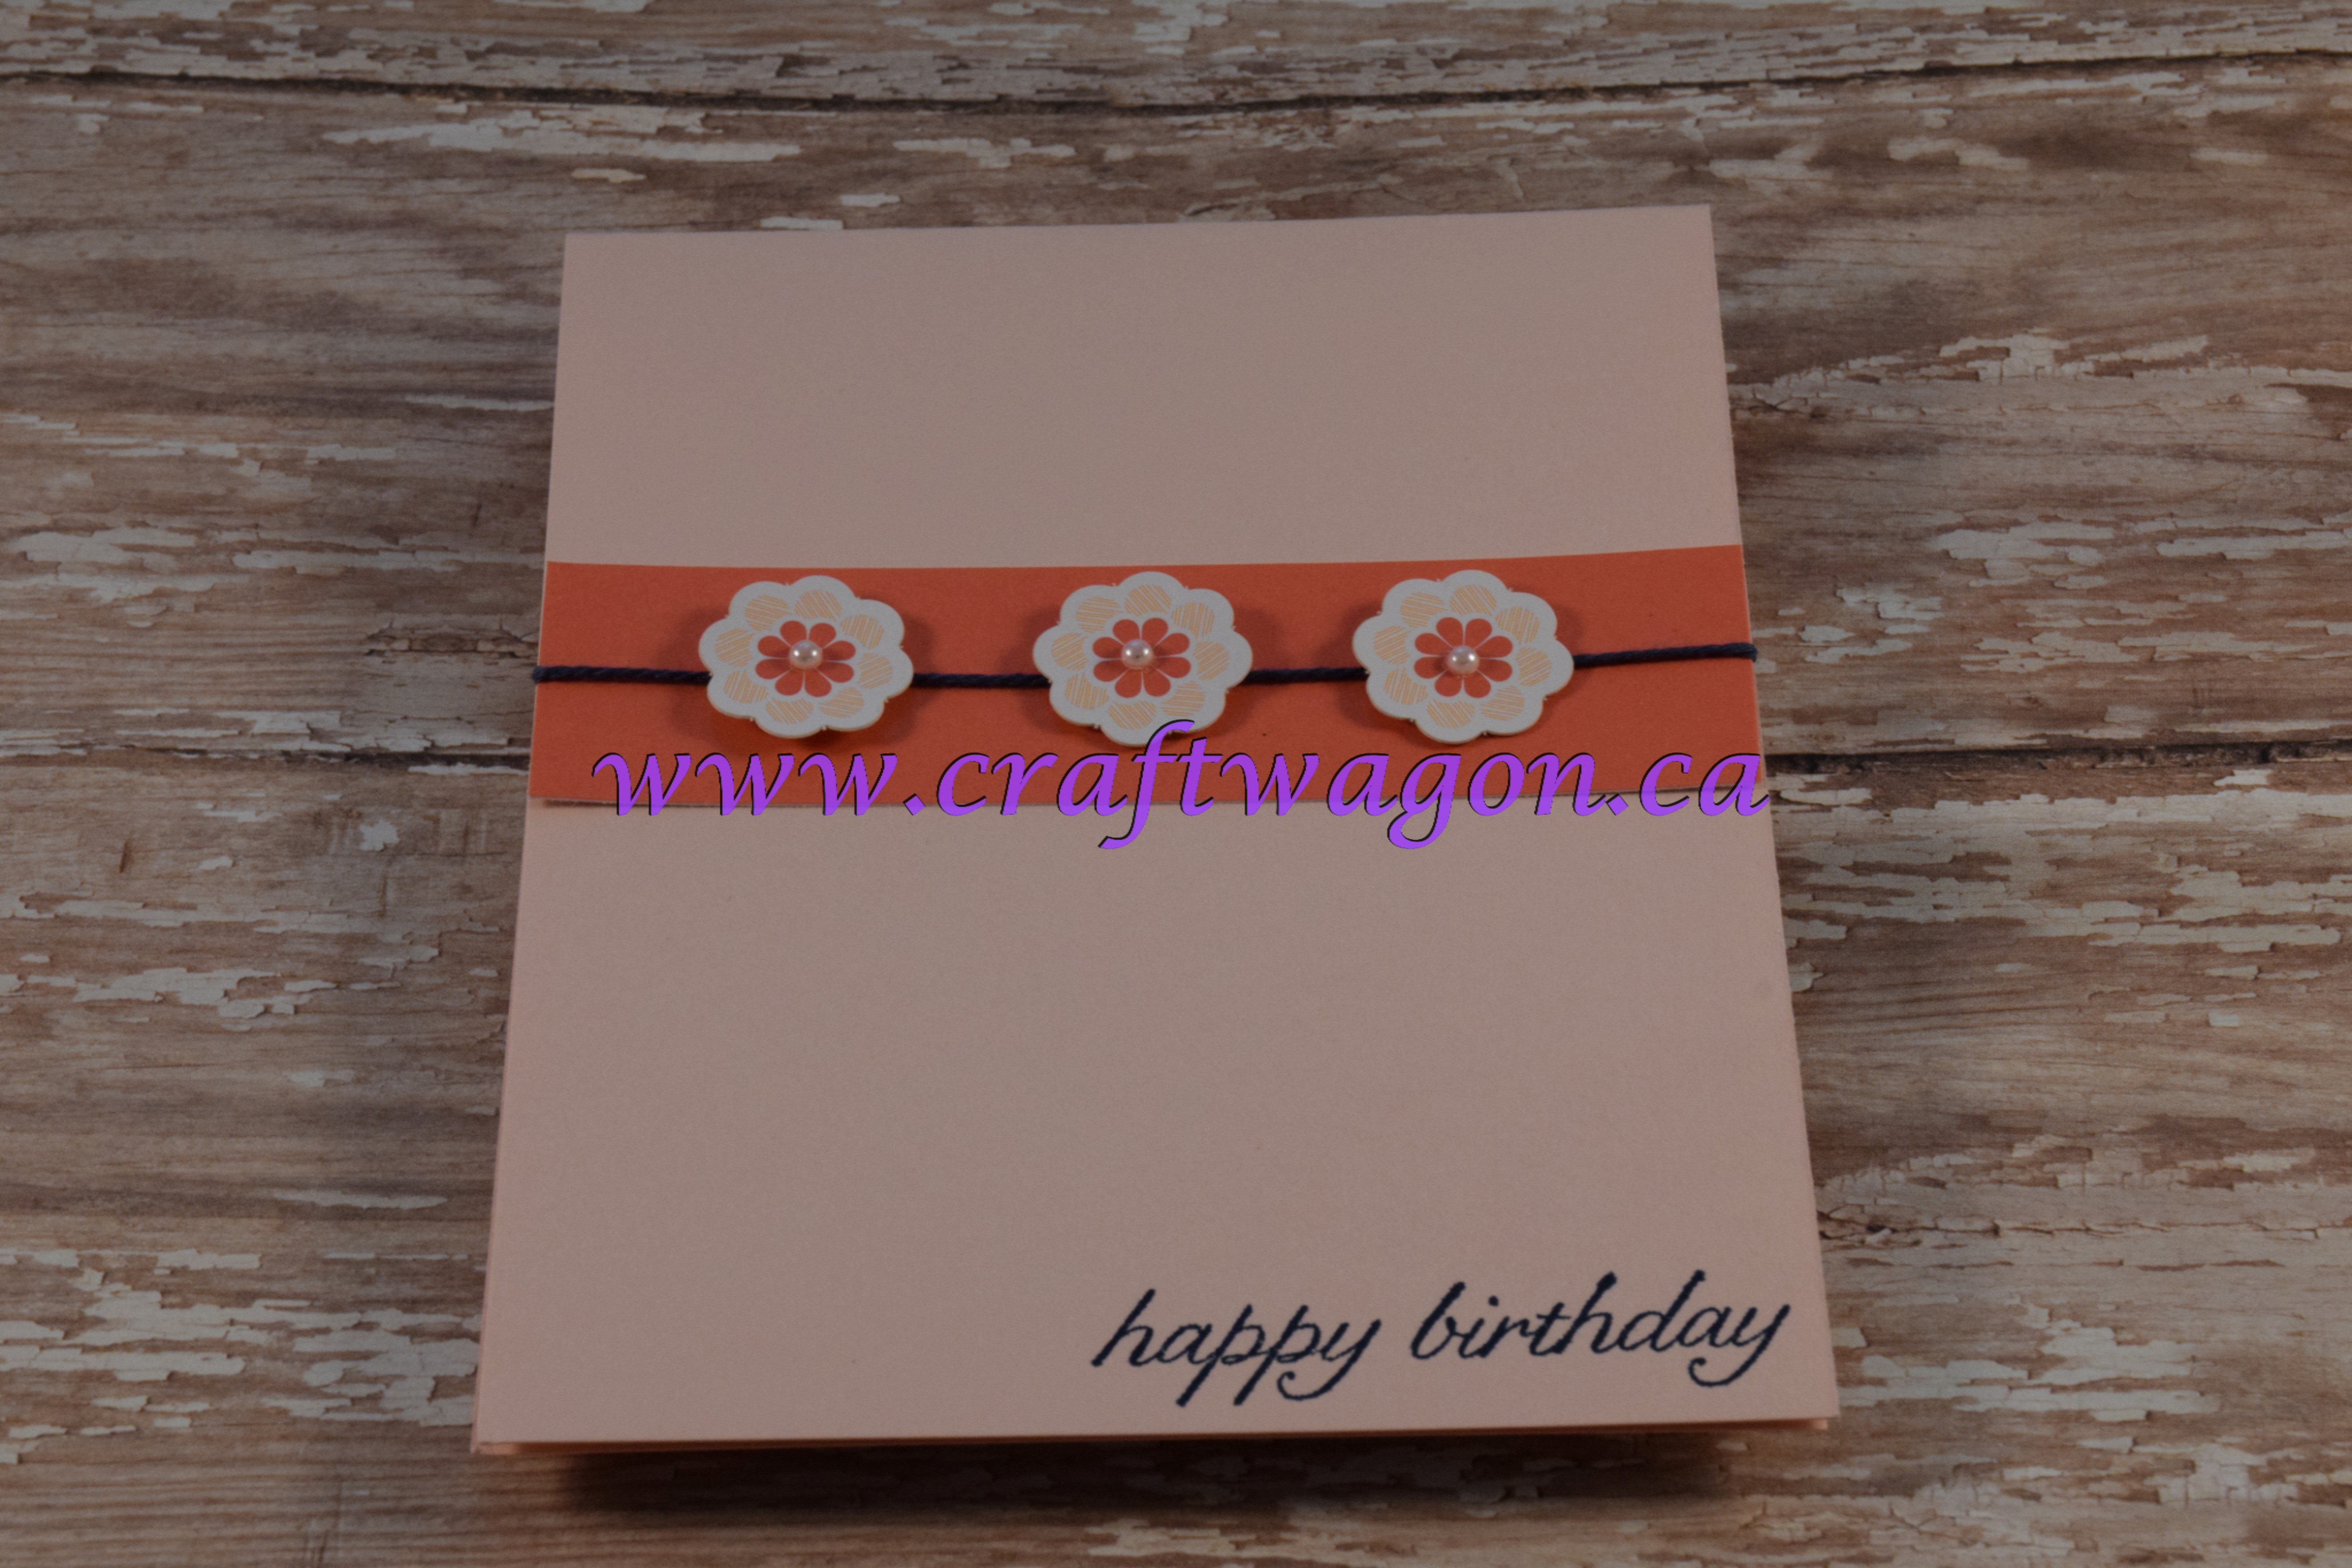
Floral Birthday
To create this card cut a piece of Powder Pink card stock 11″ x 4-1/4″
Ink up ‘happy birthday’ greeting and stamp on bottom right corner
Cut leftover scrap of Calypso Coral card front (4-1/4″ x 1-1/2″)
Attach a piece of navy twine to the middle of this then attach to card front
Add dimensionals to the back of three flowers and place them in a row on top of the twine
Add pearls to the center of each card
Voila!

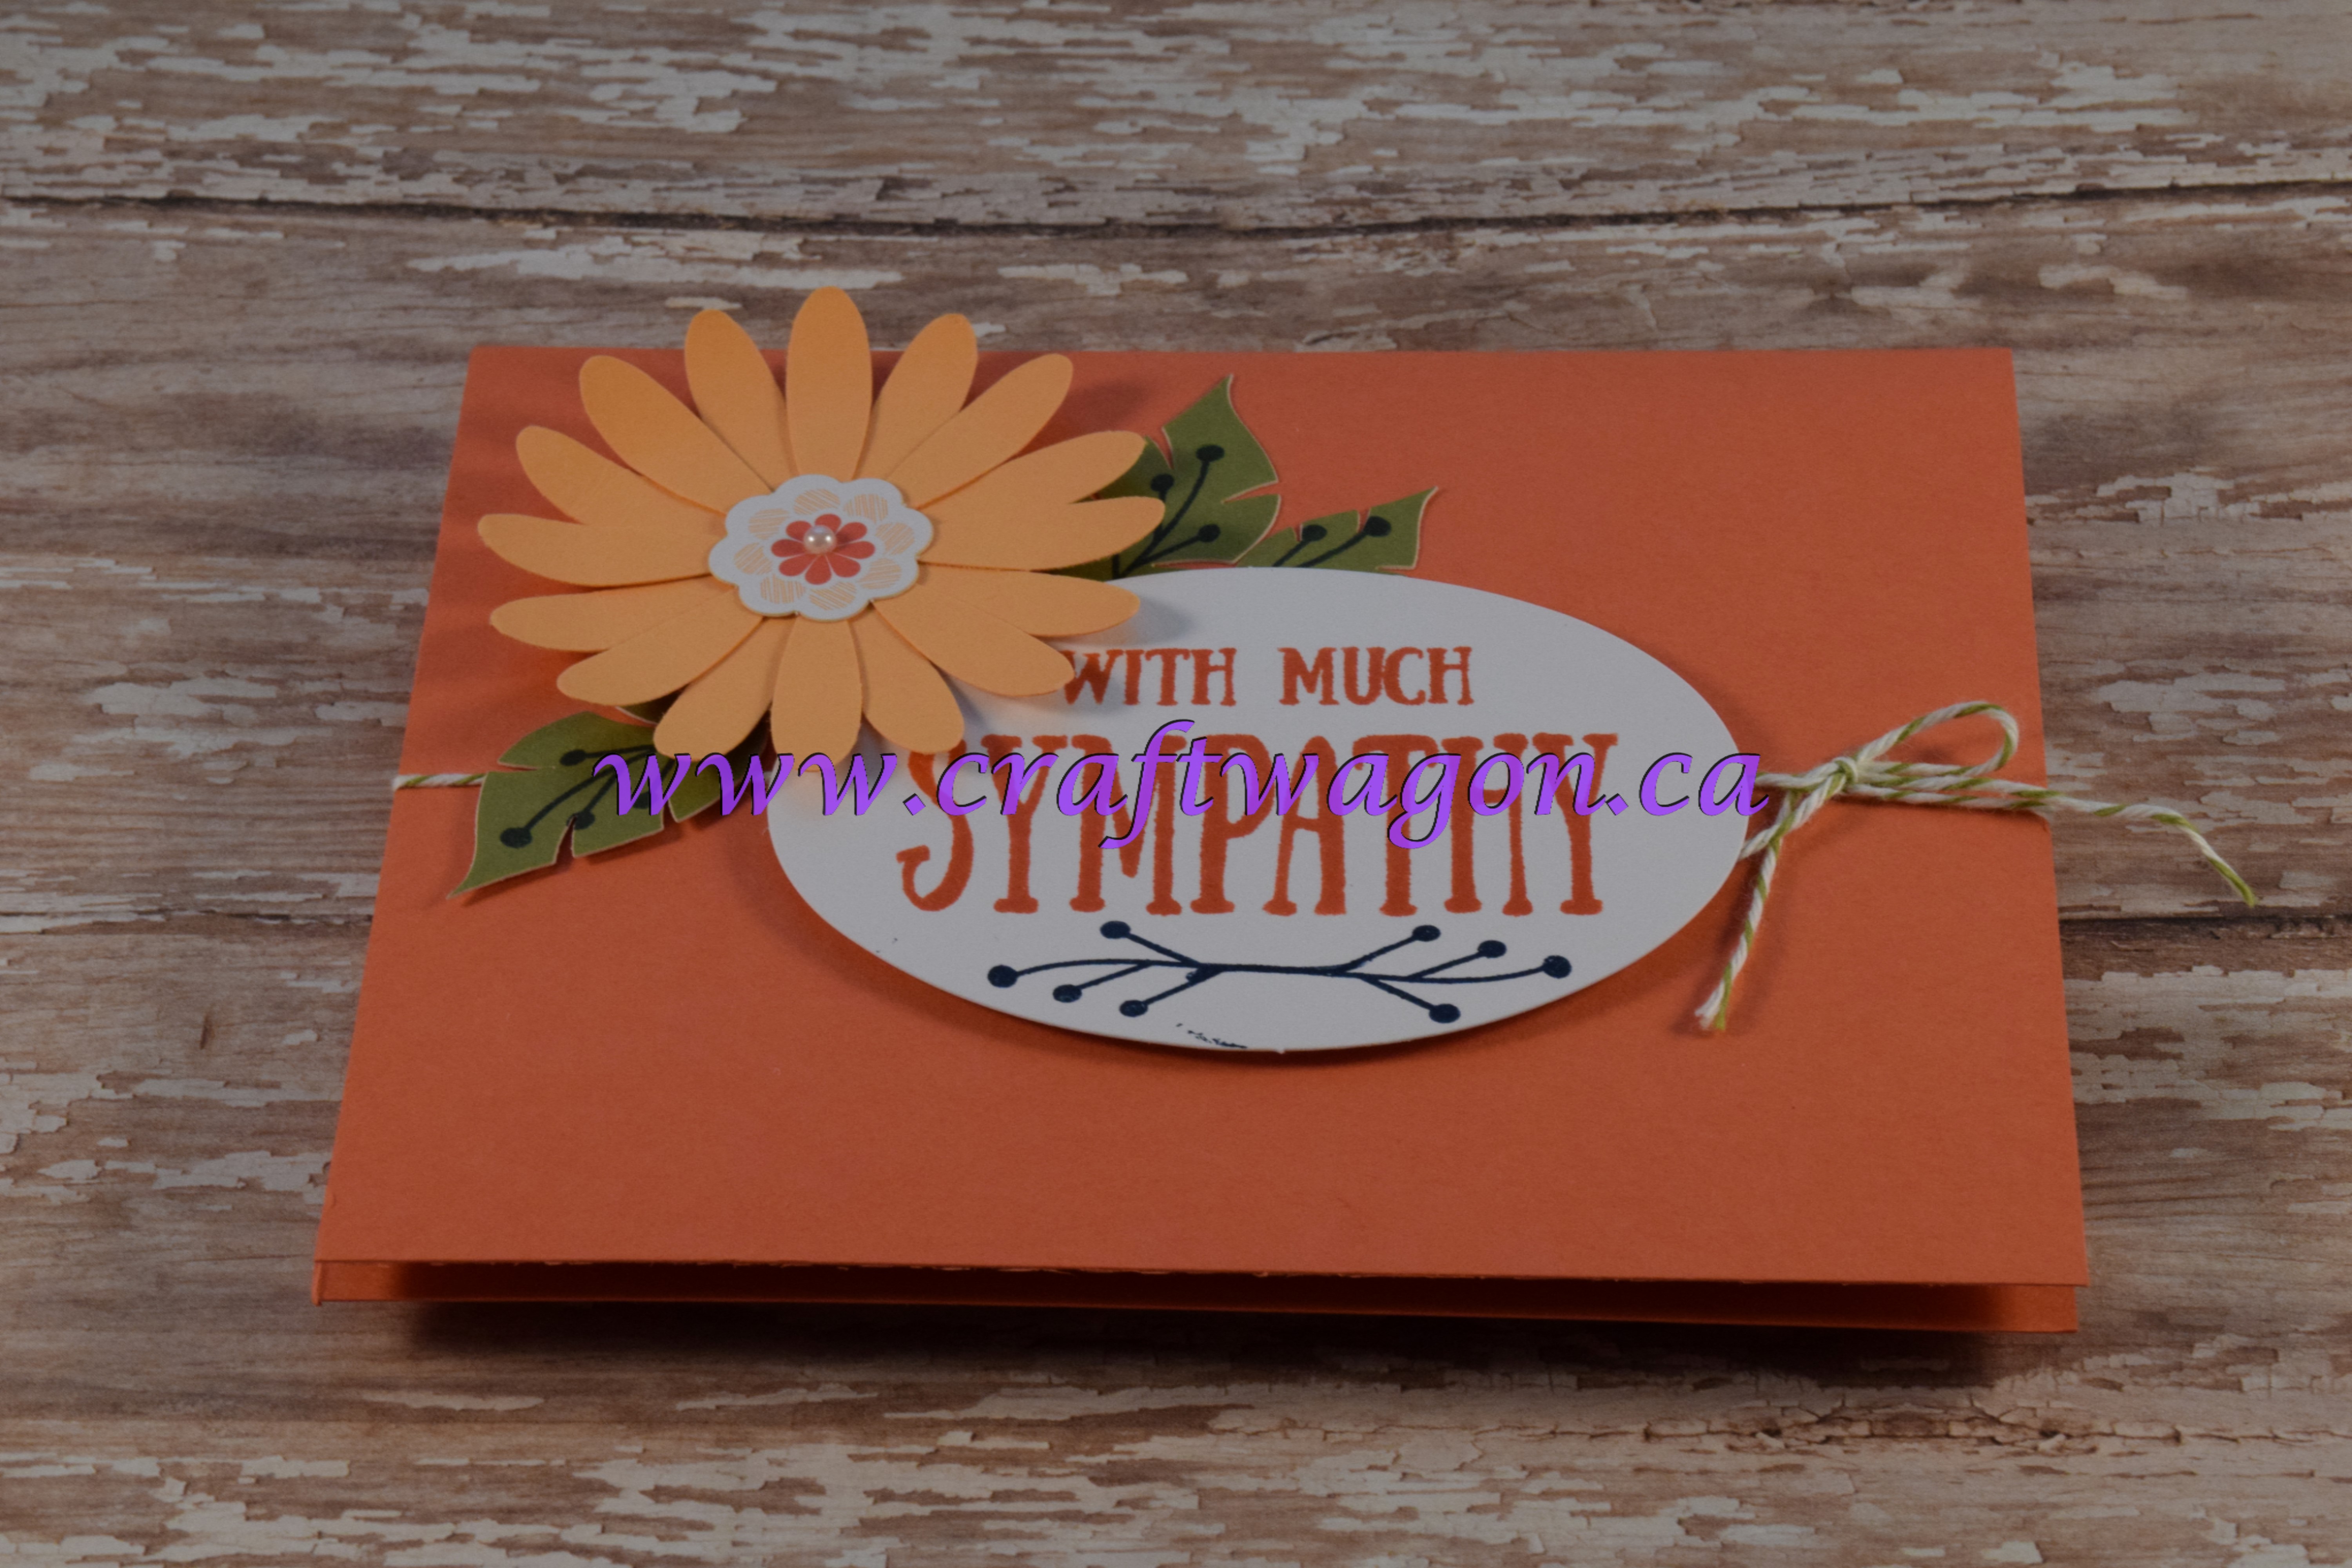
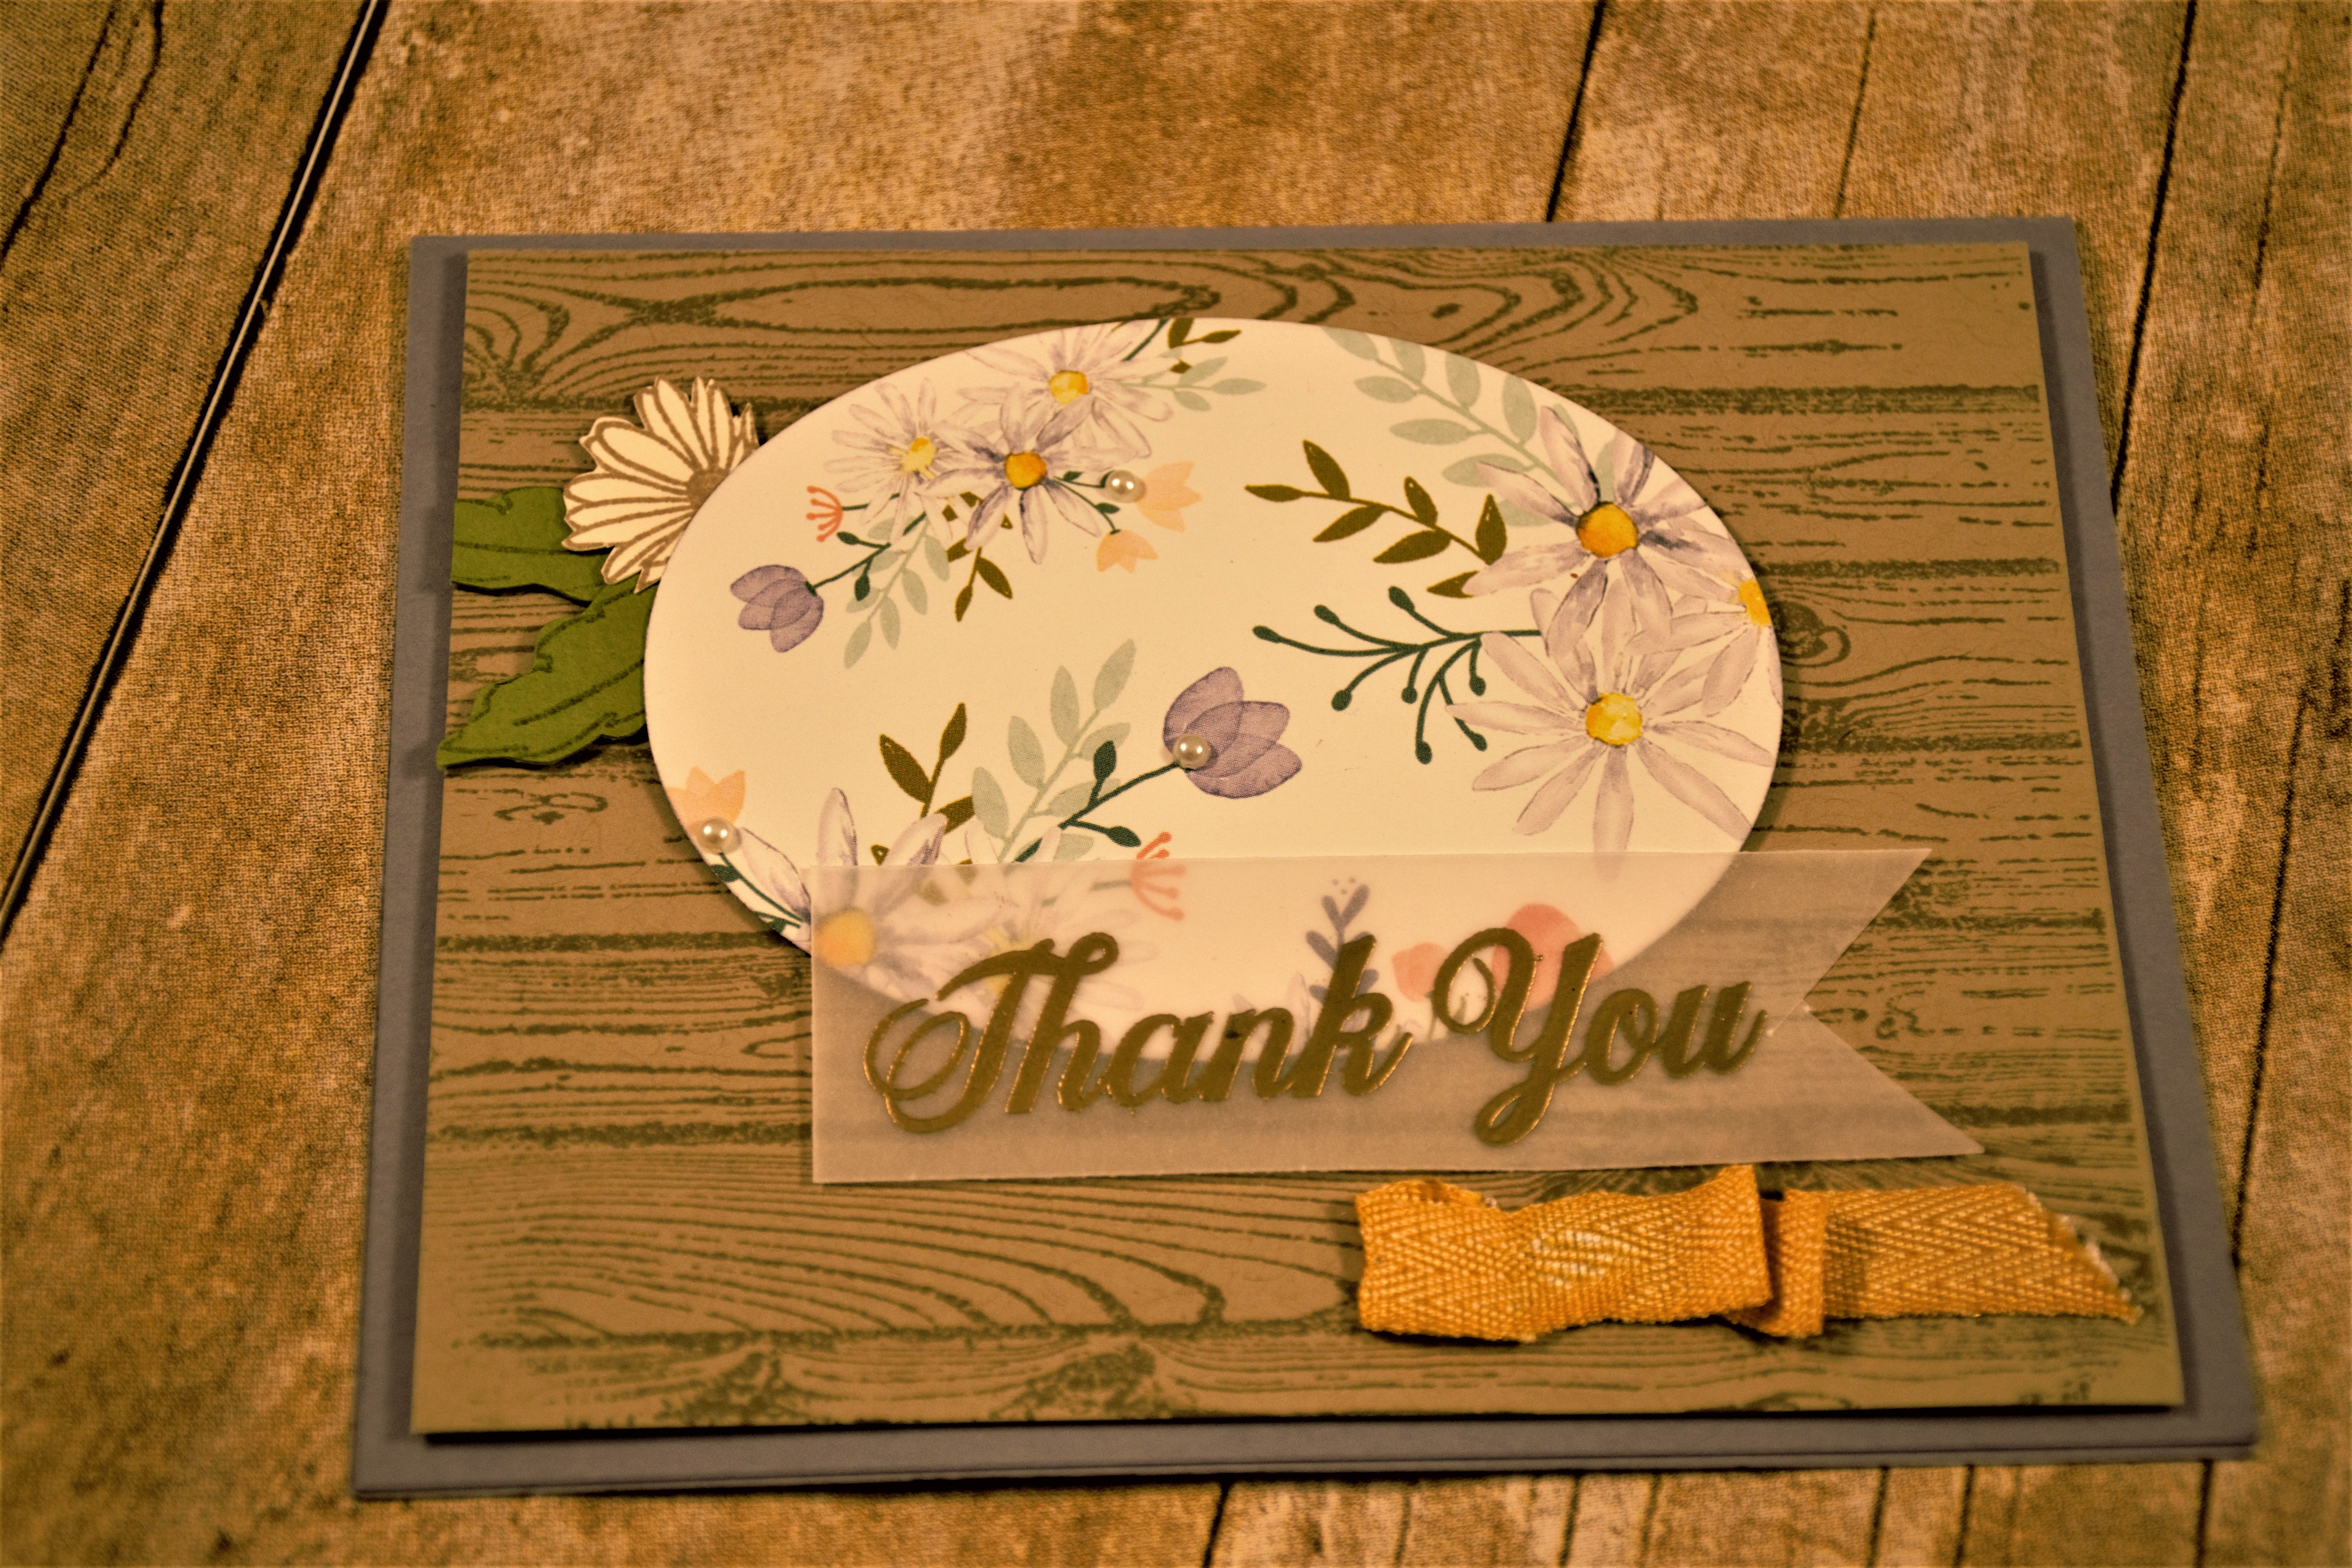
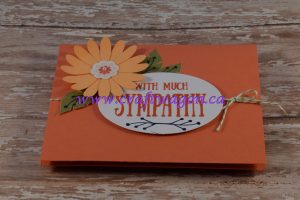
Coral Sympathy
To create this card I used the Calypso Coral card base from the kit
The blank oval in the kit was used to ink up the greeting
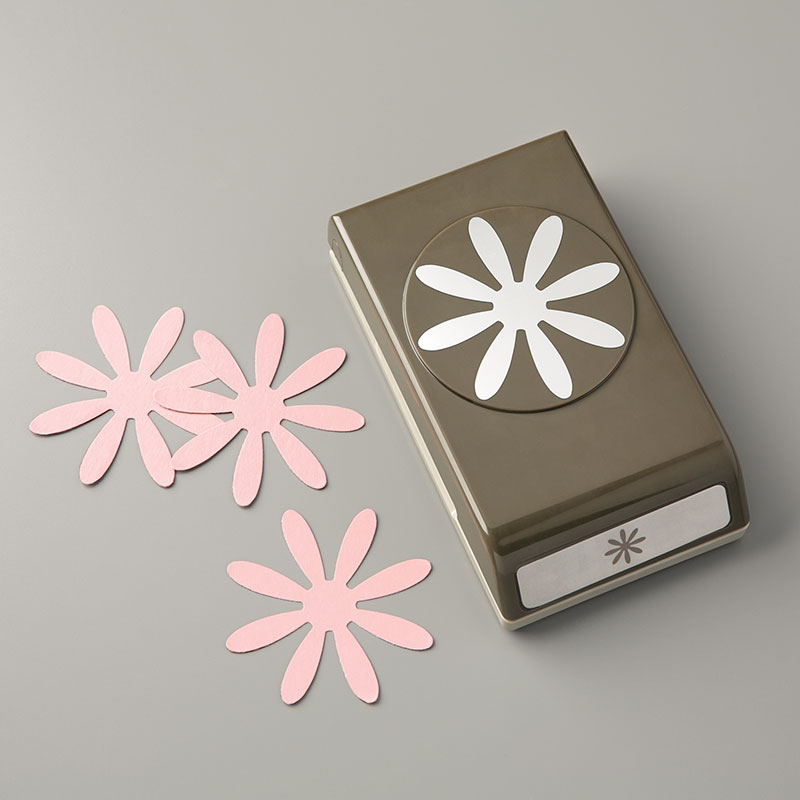
Punch two daisies using the Daisy Punch, add the floral centre.
I used the leaves and the stamp in the kit to add details to the leaves and under the greeeting
Old Olive twine was tied with a bow, under the oval. I adhered the oval and the daisy with dimensionals.
A pearl was added to the center of the flower.
Voila!
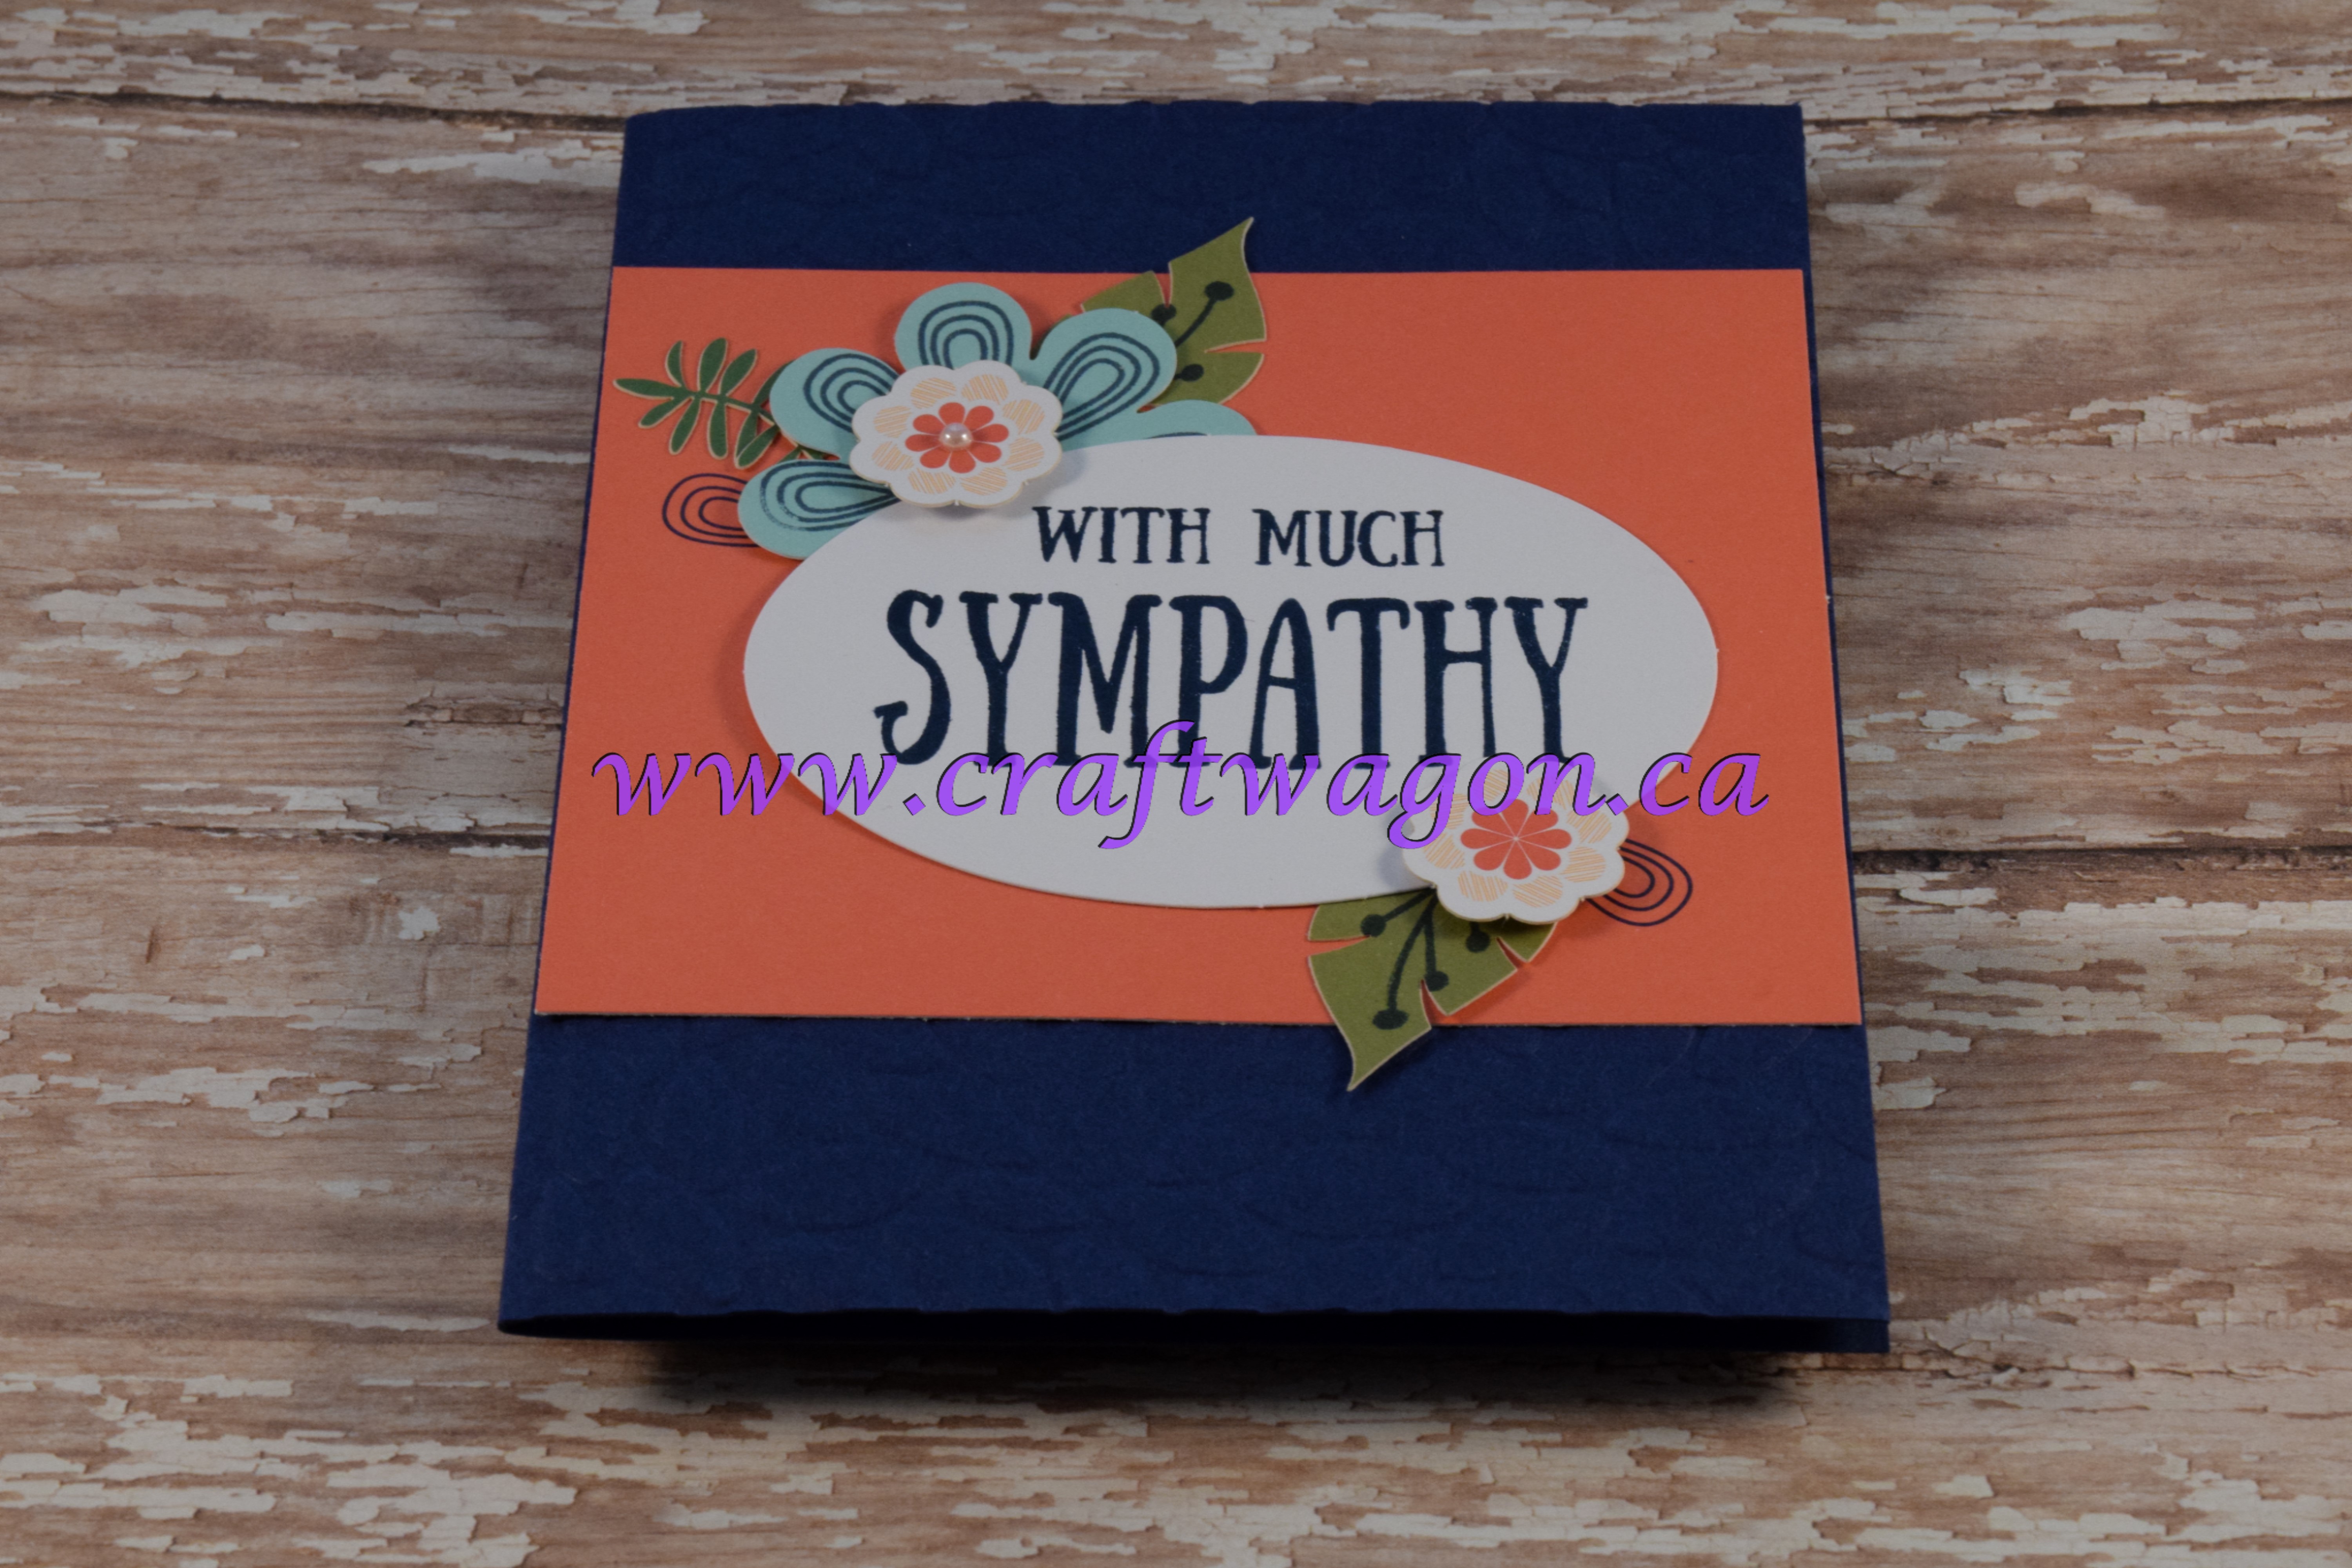
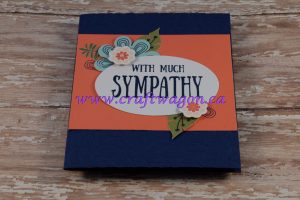
Navy Sympathy
To create this card, cut Night of Navy card stock 8-1/2″ x 5-1/2″
Cut Calypso Coral scrap 3-1/2″ x 4-1/4″ attach to card front
Ink up greeting with Night of Navy and stamp on blank oval ( from kit)
Create flowers and leaves as per kit instructions
I adhered the oval flat to the surface and used dimensionals to pop up the small flowers
Add pearls to the center of the flowers
Voila!
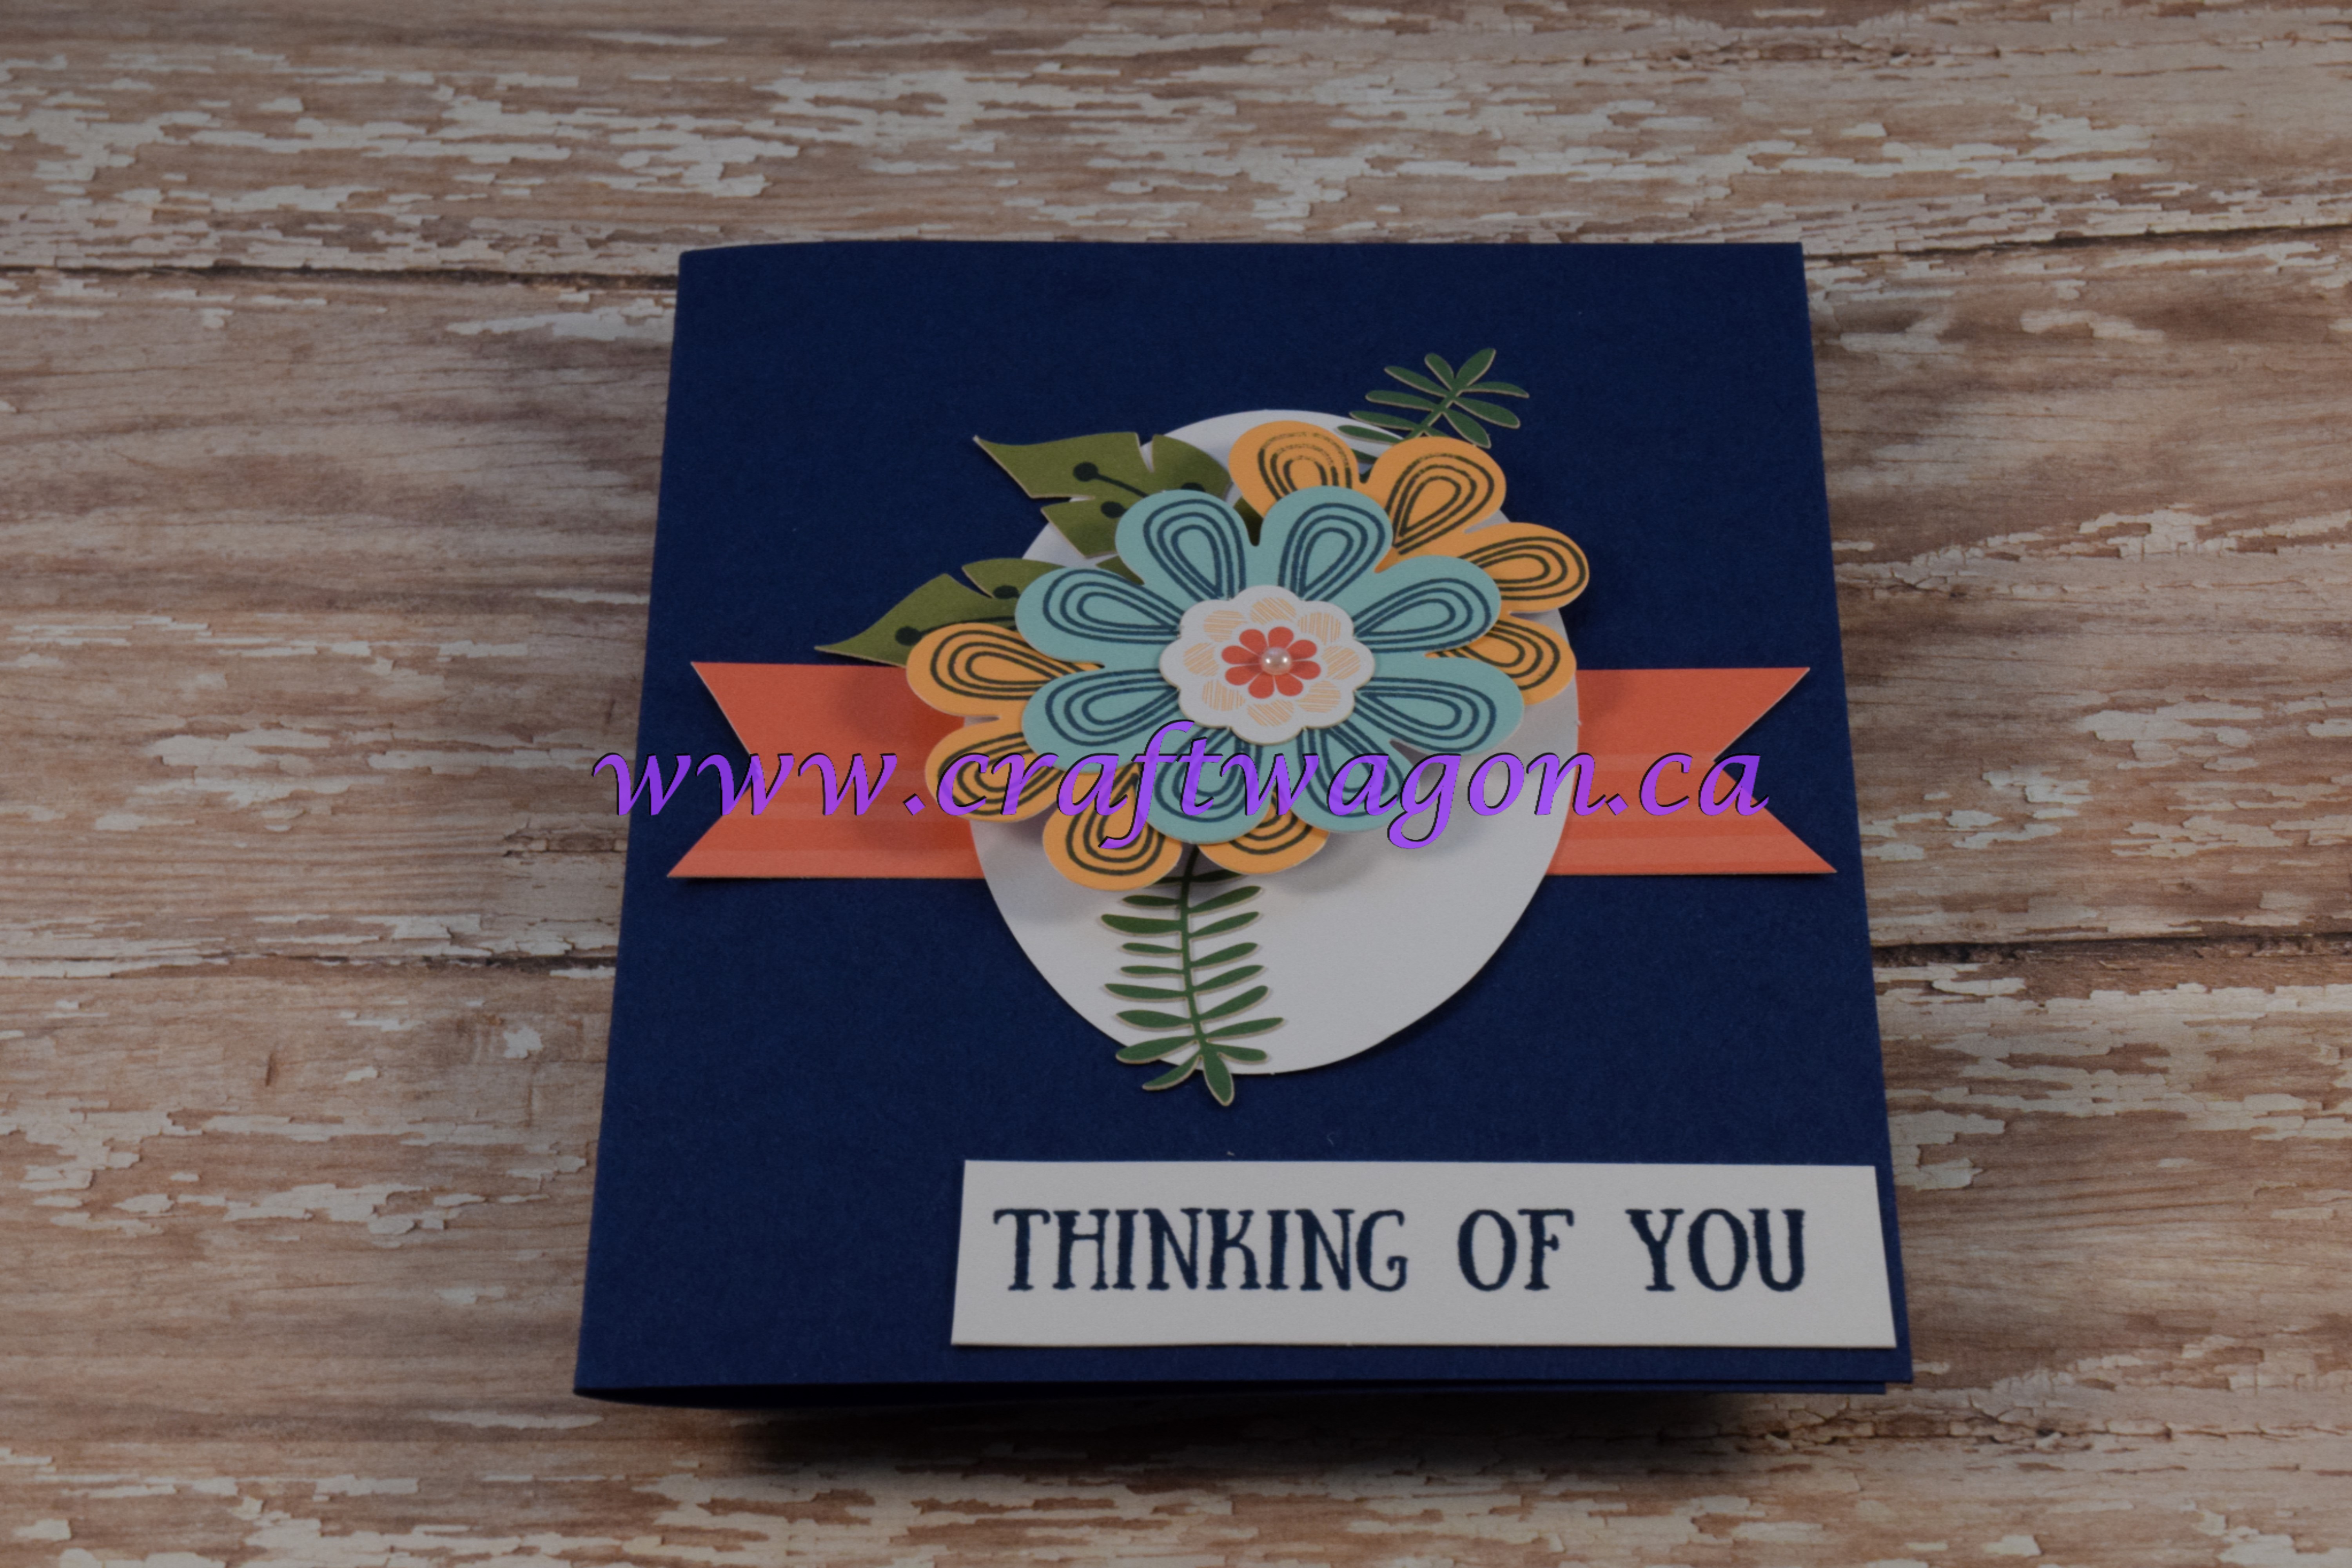
Navy Floral Bouquet
This one is my favourite!
I used the different flowers in the kit and leaves to create the floral bouquet in the center of the card.
I turned the oval, portrait, adhered the flowers with dimensionals. The leaves are flat to the surface.
Cut a piece of Night of Navy cardstock 8-1/2″ x 5-1/2″
Cut a piece of scrap Calypso Coral 1-1/2″ x 4-1/4″ and flag both ends, attach to the center of the card
Ink up greeting with Night of Navy on a piece of scrap (this is the back of the Calypso Coral card I used in the previous cards), attach to bottom right of card
Attach oval floral spray..and add some pearls and you are done!!

Thanks so much for visiting my blog today.
To keep up to date to on what’s happening on my blog, click the envelope at the top of the page:)
Stampin Up is offering coordinating kits for the months of October and November…my guess is it will give us a head start on our holiday paper crafting. Click on the link and sign up today!

Creatively Yours,
R